While there are several ways to connect your IoT devices, cellular connectivity is by far the favorite choice for mobile applications. Although when you are in the prototyping phase of your IoT application, mobile connectivity can get a little tricky with choosing the modem, the connectivity provider, the configuration required, etc.
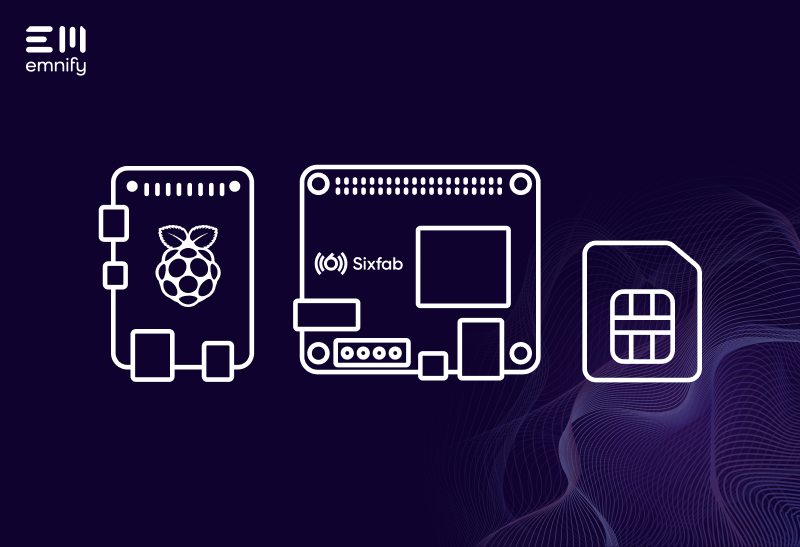
In this blog post, I will take you through the steps to quickly connect your Raspberry Pi using a Sixfab Cellular IoT Application Shield powered by Quectel BG96 and the EMnify M2M SIM.
What do I need?
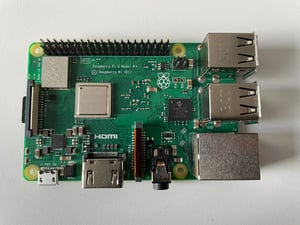
- Raspberry Pi (Model 3B+ and 4 recommended)
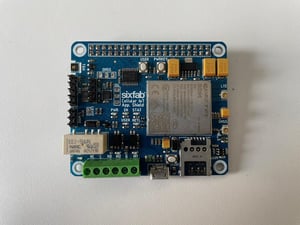
- Sixfab Cellular IoT Application Shield powered by Quectel BG96 chip
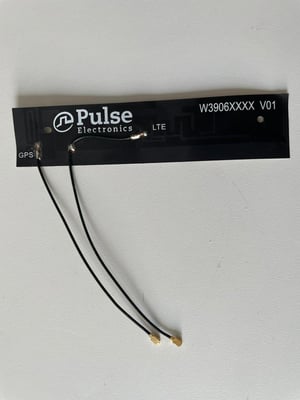
- LTE - GNSS Dual u.FL Antenna
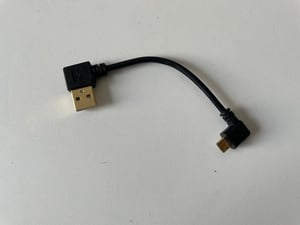
- Right Angle Micro USB Cable
- Power supply for your Raspberry Pi
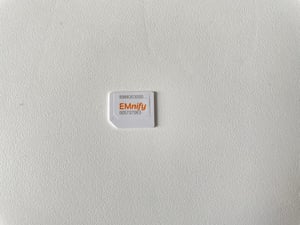
- EMnify M2M SIM
Preparation
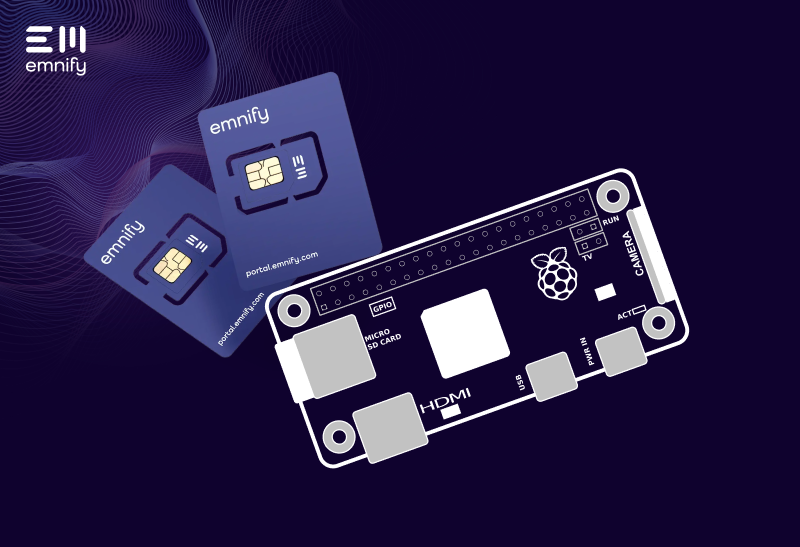
- First things first, get your EMnify SIM by signing up on the EMnify portal. You get a free SIM with a prepaid balance of €10. Follow the simple steps on the SIM packaging to register your SIM card.
- Hardware
Prep your hardware by attaching the Sixfab Cellular App. Shield to your Raspberry Pi via the 40 pin connector. Insert the EMnify SIM in the SIM holder on the App. Shield. Attach the antenna according to the labels on the App. Shield. Next, attach the right angle Micro USB cable and connect the App. Shield to the Raspberry Pi through one of the USB ports. And now attach the power supply and power up the Raspberry Pi Press the PWRKEY button on the App. Shield to power it up as well.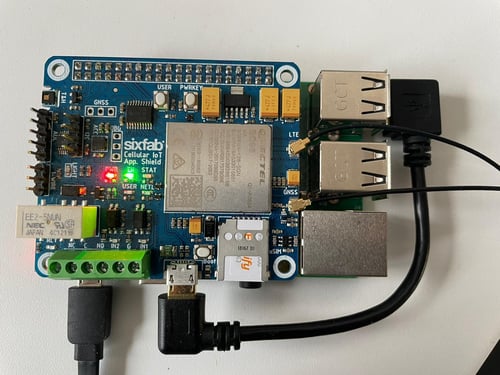
- Software
Enable the serial console through raspi-config.
Select option 3 - Interface Options, select P6- Serial port. Now set login shell accessible over serial to NO and select YES for enable serial port hardware. Exit the config menu and reboot.pi@raspberrypi:~ $ sudo raspi-config
Configuration
Once you have the setup ready, you need to install the python library for the Sixfab IoT Cellular App. Shield. So first let's clone the repository.
pi@raspberrypi:~ $ git clone https://github.com/sixfab/Sixfab_RPi_CellularIoT_App_Shield.git pi@raspberrypi:~ $ cd Sixfab_RPi_CellularIoT_App_Shield
pi@raspberrypi:~ $ sudo python3 setup.py installpi@raspberrypi:~ $ lsusbpi@raspberrypi:~ $ ls /dev/ttyUSB*ttyUSB3 in the response as the Sixfab Cellular IoT App. Shield uses ttyUSB3. Next, download the Sixfab PPP installer tool.
pi@raspberrypi:~ $ git clone https://github.com/sixfab/Sixfab_PPP_Installer.gitpi@raspberrypi:~ $ cd Sixfab_PPP_Installer
pi@raspberrypi:~ $ chmod +x ppp_install.sh
pi@raspberrypi:~ $ sudo ./ppp_install.sh
Please choose your Sixfab Shield/HAT:
1: GSM/GPRS Shield
2: 3G, 4G/LTE Base Shield
3: Cellular IoT App Shield
4: Cellular IoT HAT
5: Tracker HAT
6: 3G/4G Base HAT
3
em.
...
What is your carrier APN?
em
Does your carrier need username and password? [Y/n]
nttyUSB3.
What is your device communication PORT? (ttyS0/ttyUSB3/etc.)
ttyUSB3
Do you want to activate auto-connect/reconnect service at Raspberry Pi boot up?[Y/n]
Y
pi@raspberrypi:~ $ ifconfig ppp0
ppp0: flags=4305<up,pointopoint,running,noarp,multicast>  mtu 1500
        inet **.***.**.**  netmask 255.255.255.255  destination **.**.**.**
        ppp  txqueuelen 3  (Point-to-Point Protocol)
        RX packets 80  bytes 9279 (9.0 KiB)
        RX errors 0  dropped 0  overruns 0  frame 0
        TX packets 95  bytes 5101 (4.9 KiB)
        TX errors 0  dropped 0 overruns 0  carrier 0  collisions 0
</up,pointopoint,running,noarp,multicast>
Checking on the emnify Portal
You can check if your device is connected to the internet through the emnify portal. Log into your EMnify portal on portal.emnify.com. Navigate to Connected Devices on the left panel and look for the device name you registered the SIM card with. By clicking on details, you will see all the details of your SIM. The IP from the ifconfig command on the Raspberry Pi should match the IP listed on the portal. 
You can now navigate to other options within the portal and customize the profile of your connected SIM.
Now that you have established connectivity on your Raspberry Pi through the Sixfab IoT Cellular App. Shield using a EMnify M2M SIM, connect your gateway to AWS IoT core using this step-by-step tutorial.
Stay connected!

Shruti Kuber
Shruti Kuber is a Developer Advocate and Community Manager at emnify.