The emnify platform gives you the opportunity, through the service policies, to set up a monthly data & SMS limit. This feature is now complemented with a new event/alert warning you that 75% of said limit has been reached.
In this article, we will show you how to use this new feature to have better control of your consumption and get notified via email when 75% of your data limit has been reached.
Requirements
- an emnify account
- at least one connected device
- a Zapier account linked to your emnify account
1. On the emnify portal
a. Setting up a data limit & assigning it to the device
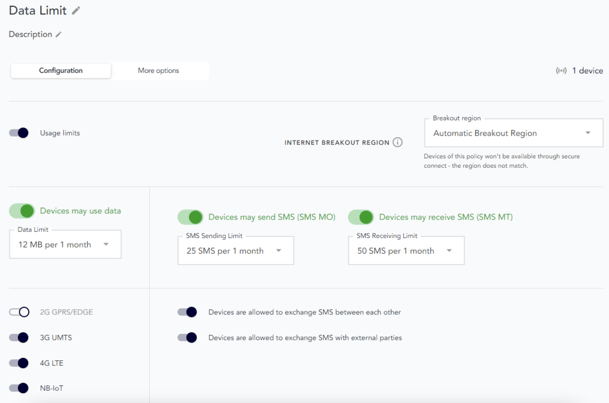
Please refer to this article for setting up a data or SMS limit.
For this exercise, we will set up a small limit of 12MB and assign it to our test device:
b. Testing the alert & finding the event
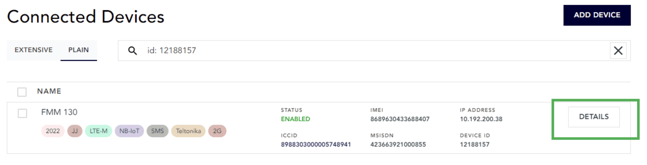
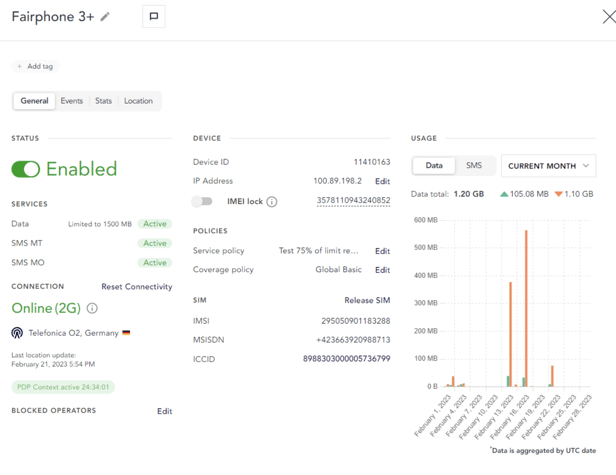
Once you’ve correctly set up your data limit, and used some data, go to “Details” on the device with the data limit:
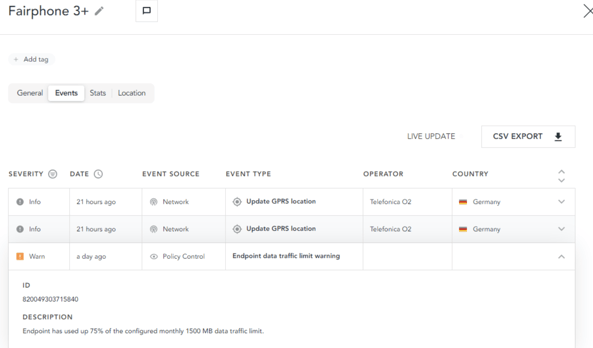
Then go to the “Events”:
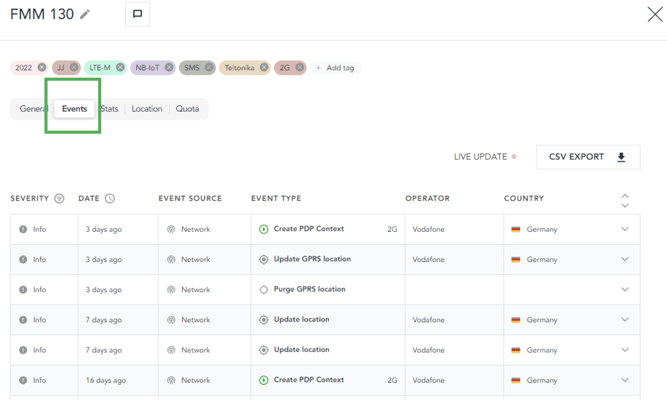
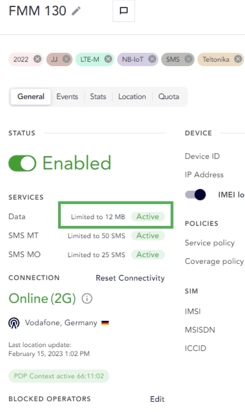
The following event will show up once you’ve used 75% of said limit:
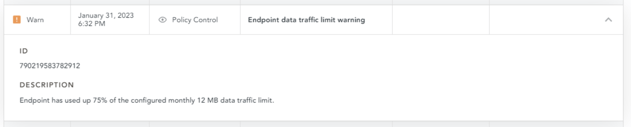
In this case, the limit set was 12 MB per device and per month. Therefore, the event showed up once 9 MB of data was consumed:
2. Setting up an email alert via Zapier
If you haven’t used the combination emnify + Zapier before, please refer to this article for a comprehensive introduction.
a. Create your Zap
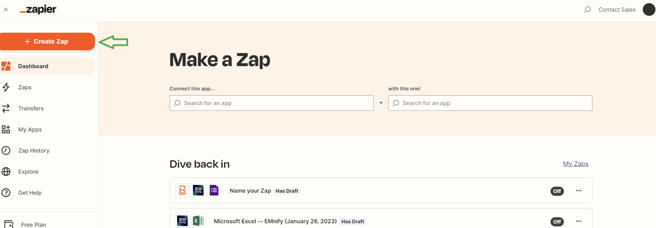
All set? Then create a new Zap:
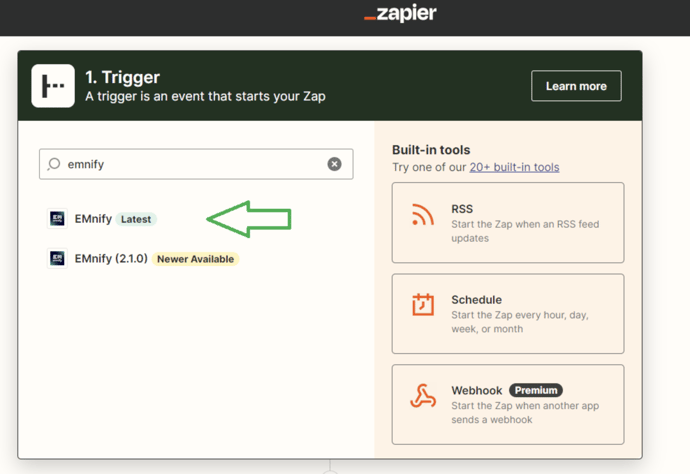
Choose emnify as the triggering app:
b. Select the right event
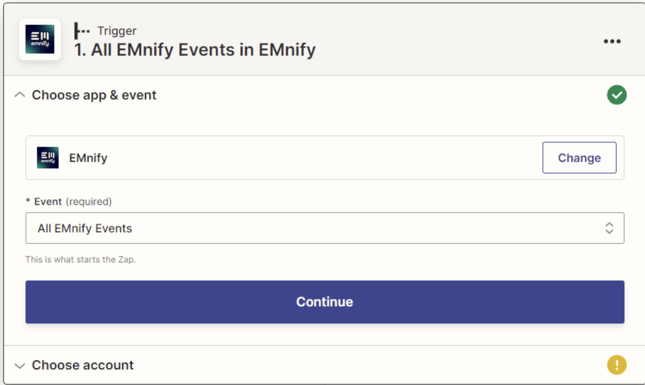
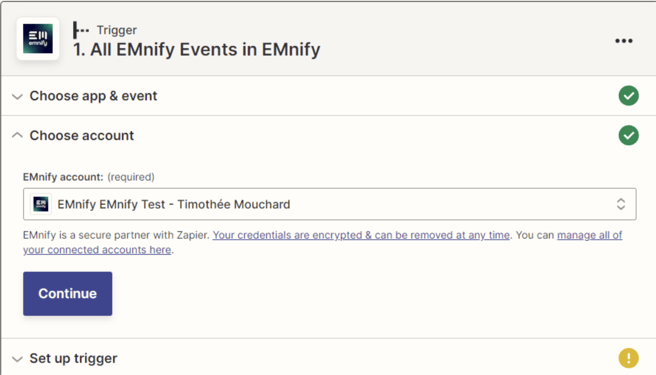
Choose “All emnify events”:
Choose your account (to associate your account, please refer to this article on how to associate your emnify account):
Choose event number 65, “Endpoint data traffic limit warning”:
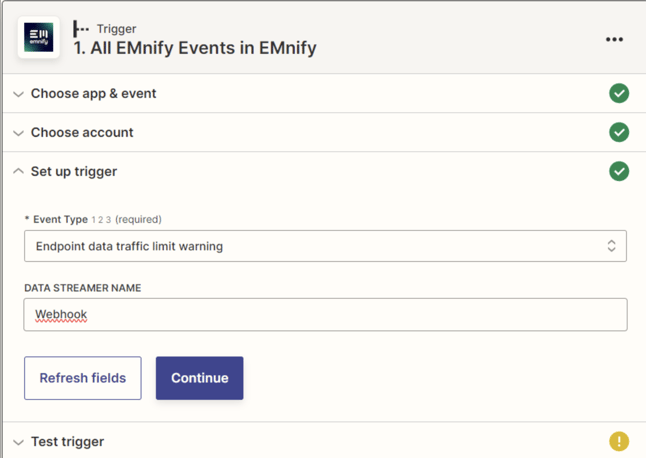
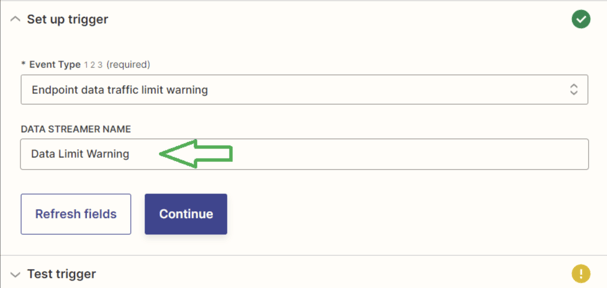
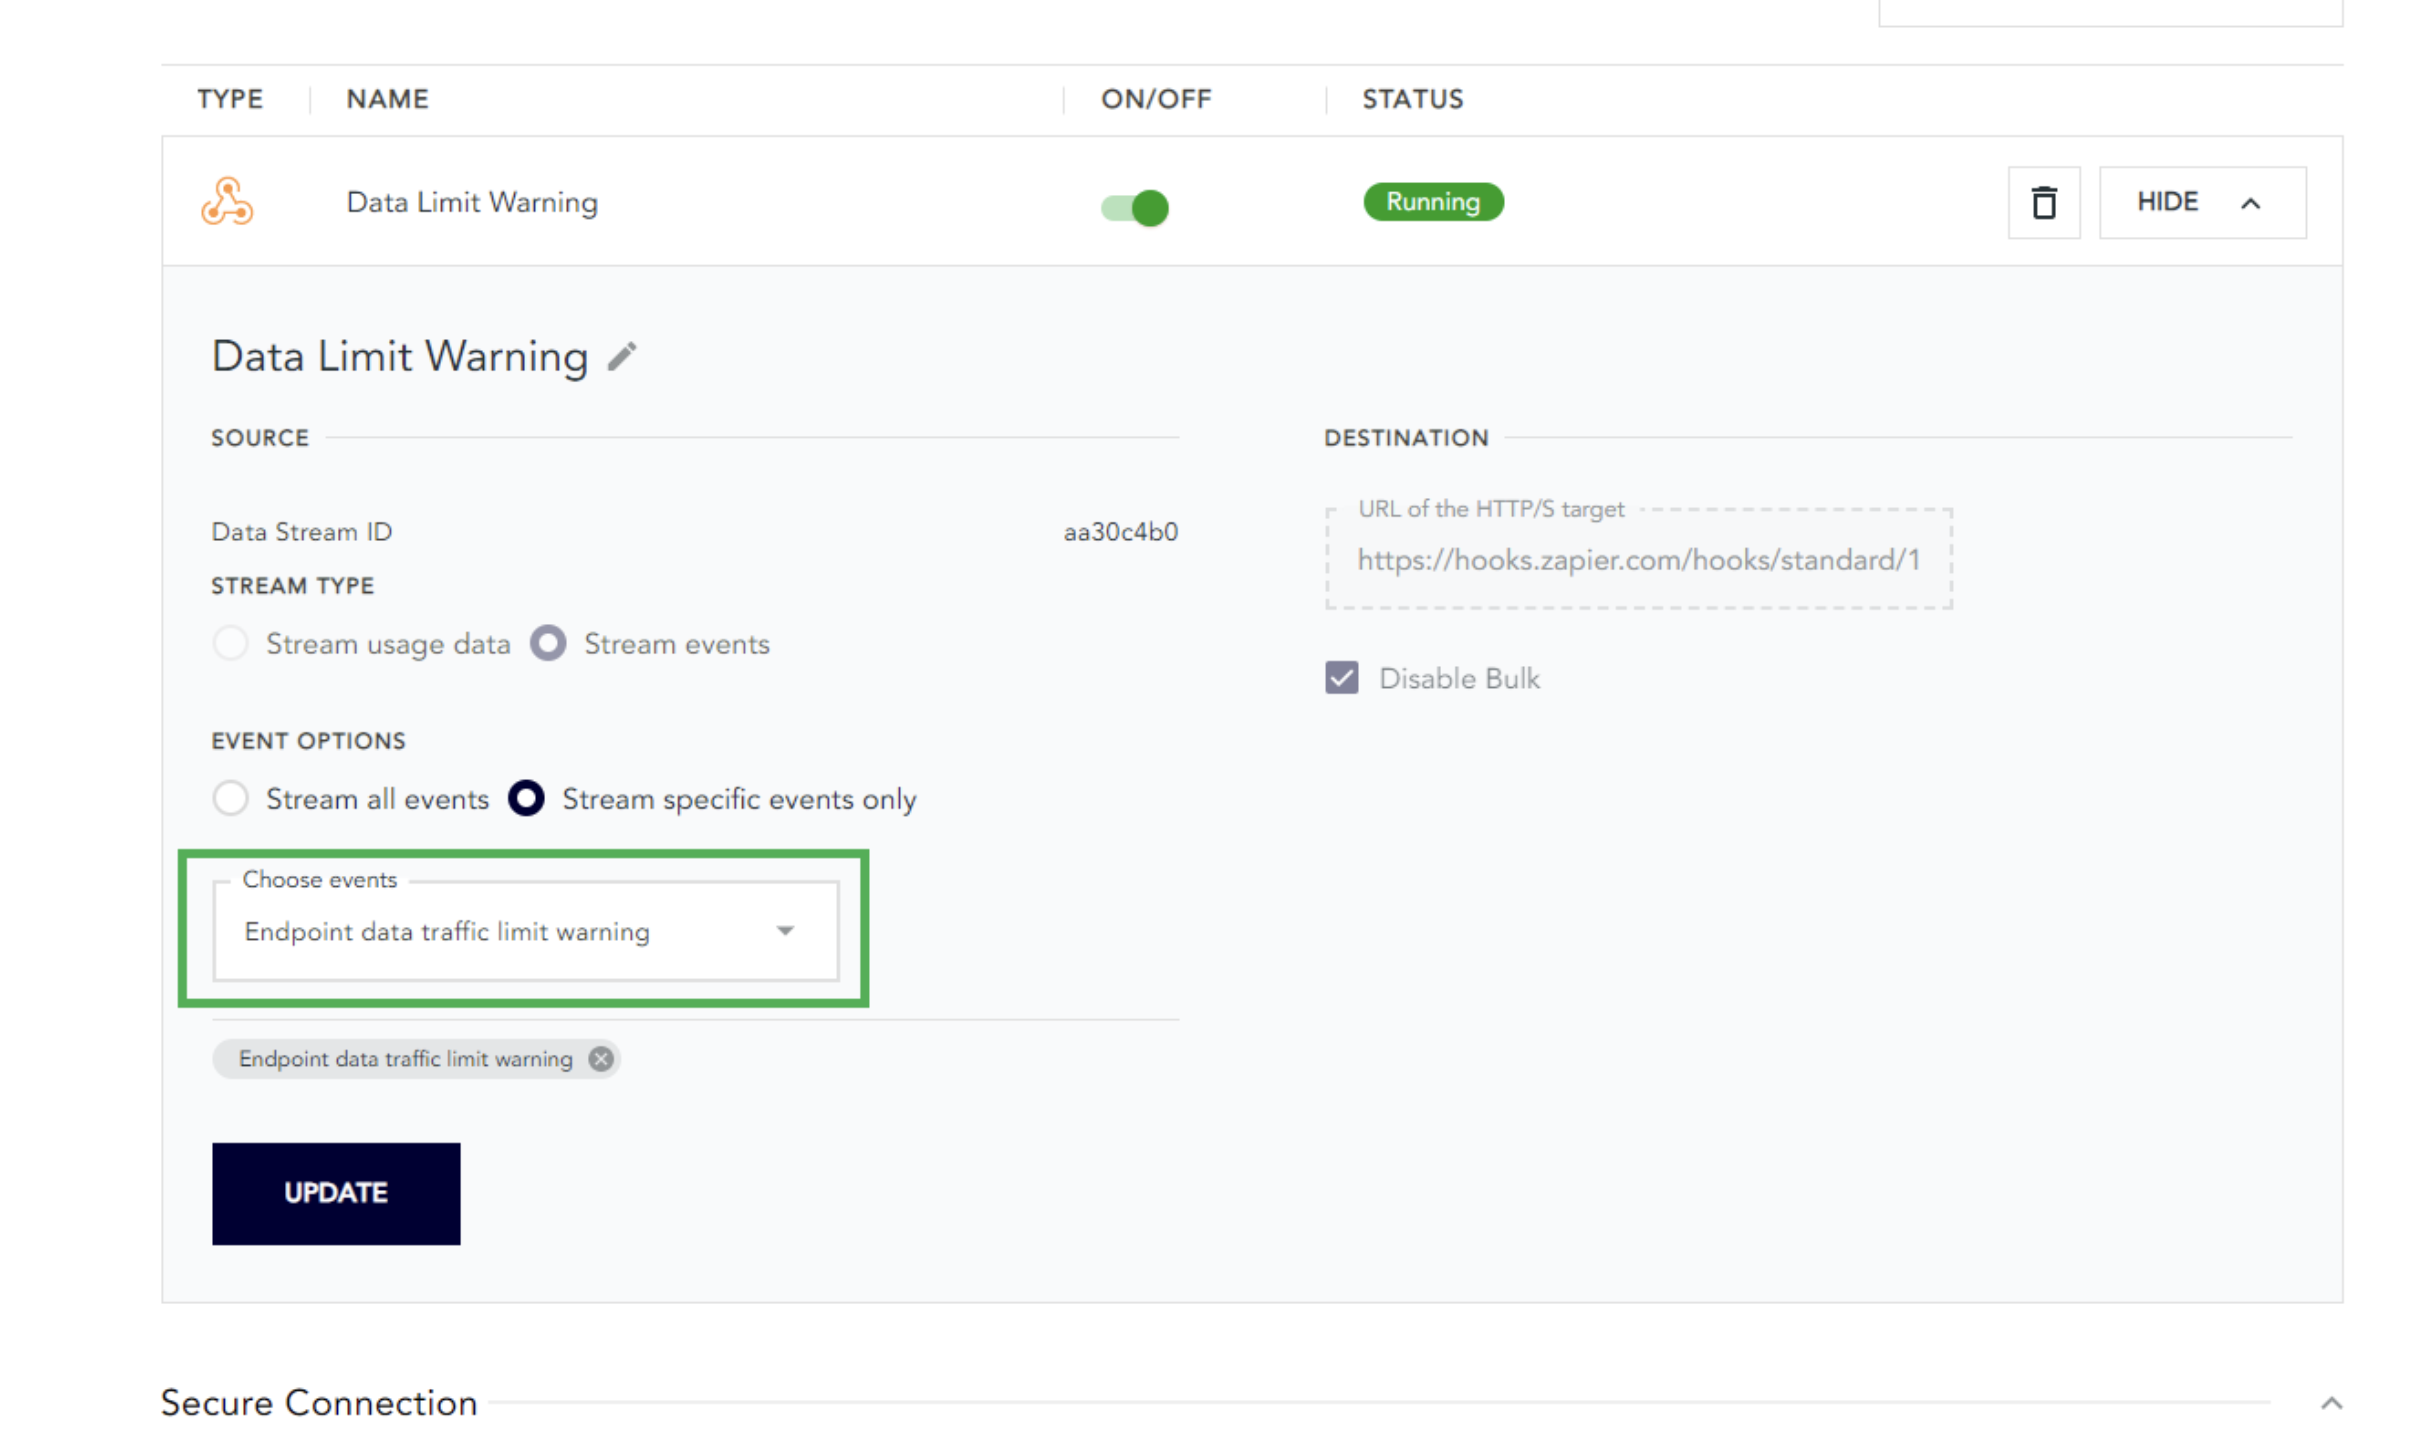
Concretely, choosing this event will create a data stream between emnify and zapier which will only redirect the event “Endpoint data traffic limit warning” to your Zapier account. As such the data stream will show up in the “Integration” tab of your emnify account and we recommend naming it properly so you don’t confuse it with other data streams that you might have created, and deleted by mistake:
c. Test your trigger
After creating your Zap and selecting your event of interest, it is time to test your trigger.
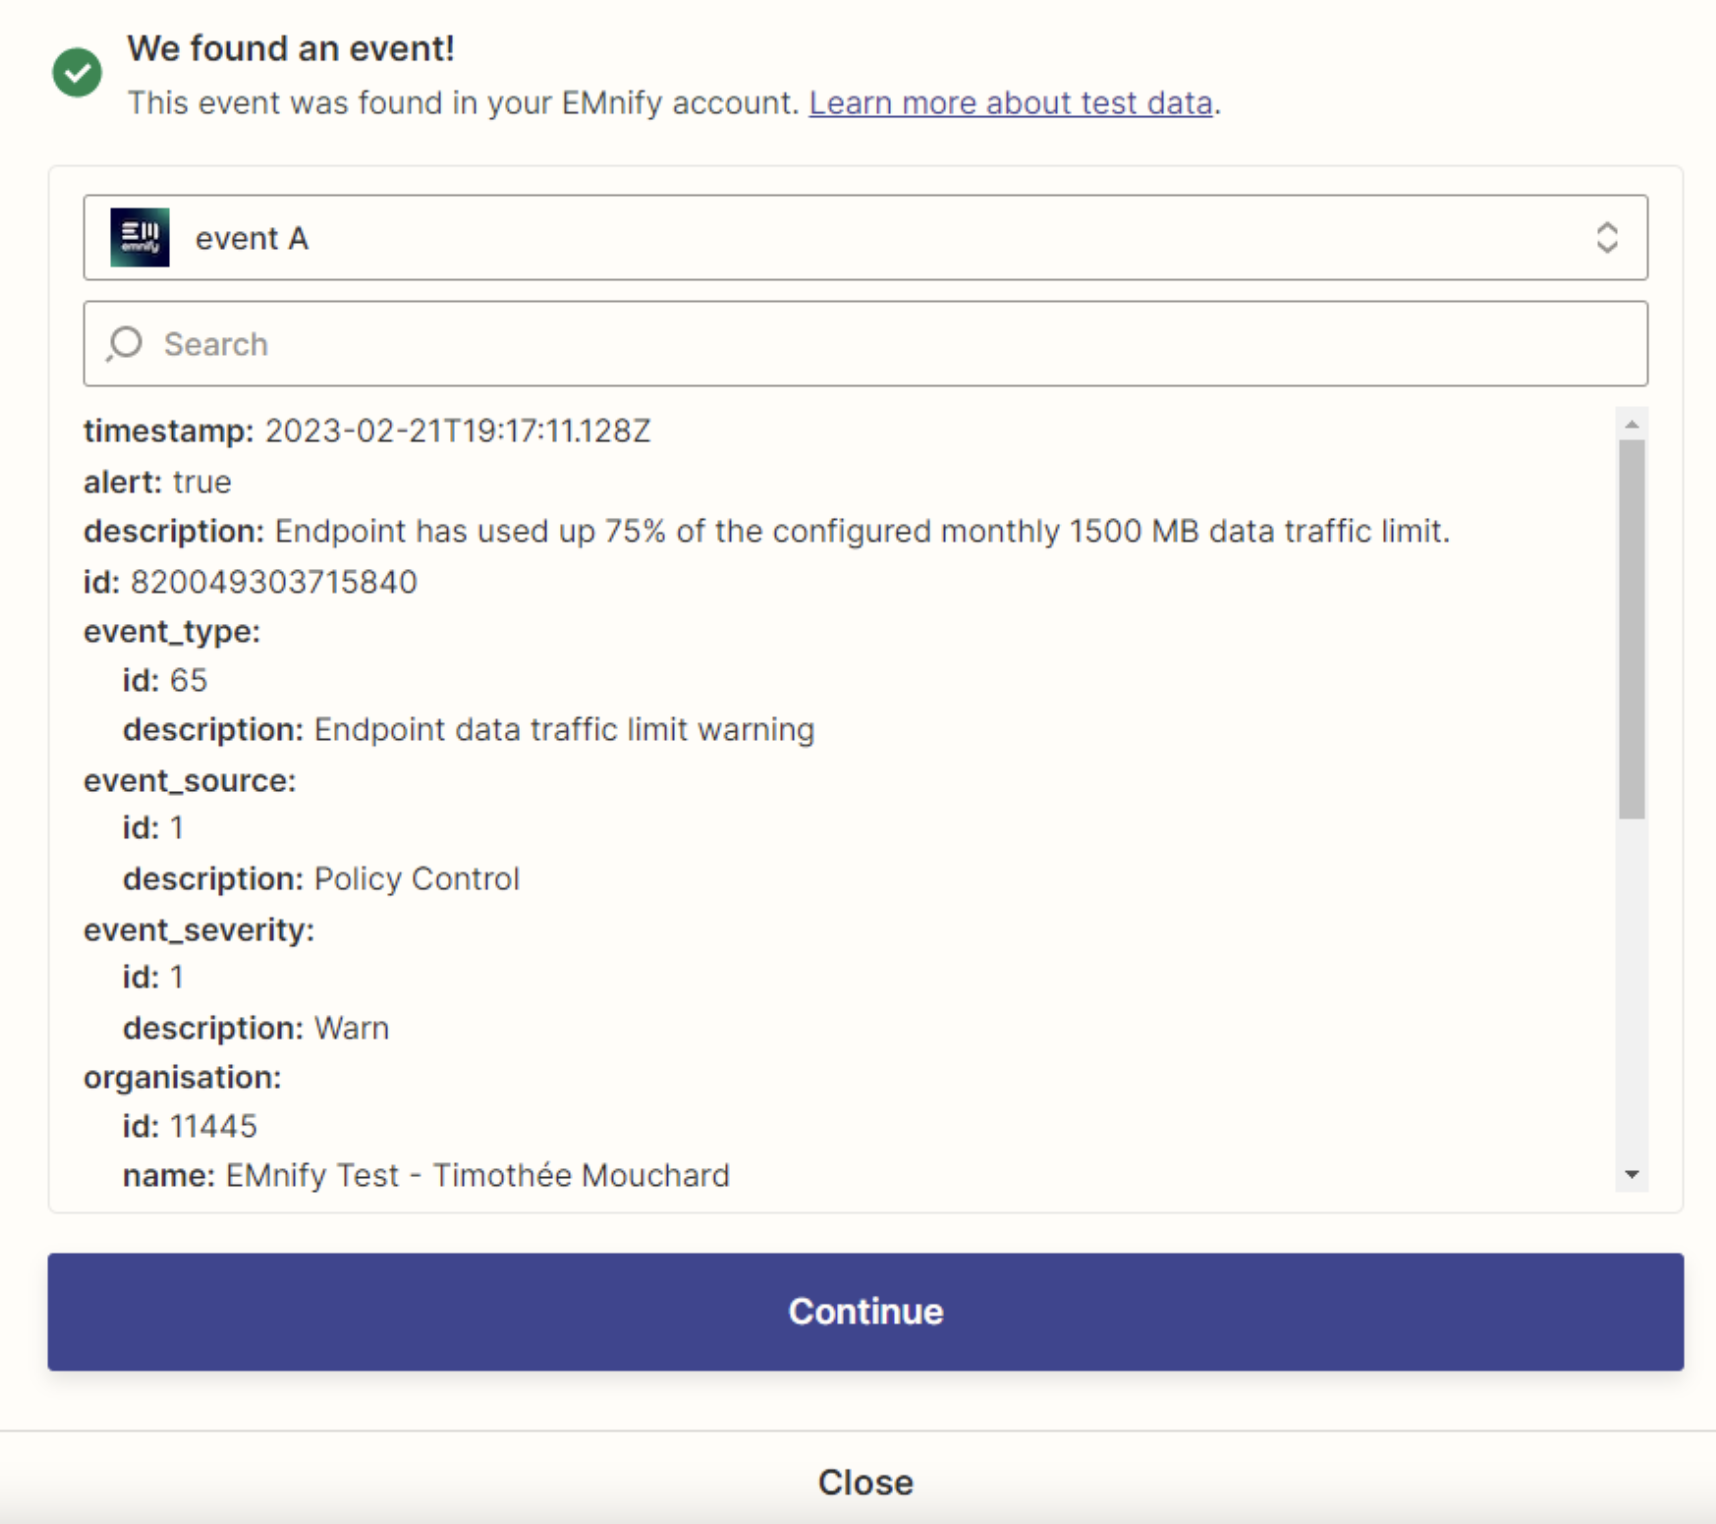
In this step, Zapier will consult all emnify events in order to find a previous instance of the event “Endpoint data traffic limit warning”. If such an event happened before, then you’ll receive a recap. Click to “Continue”:
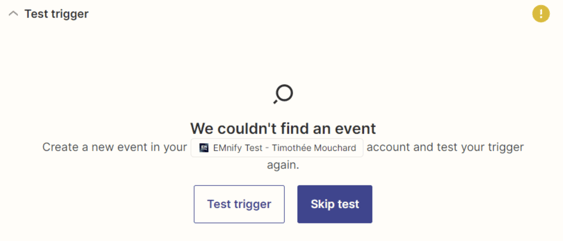
If this event has not occurred before, then Zapier will notify you and ask you if you want to proceed. You can then click Skip Test or go back to step 1.a :
d. Have this event trigger an email being sent
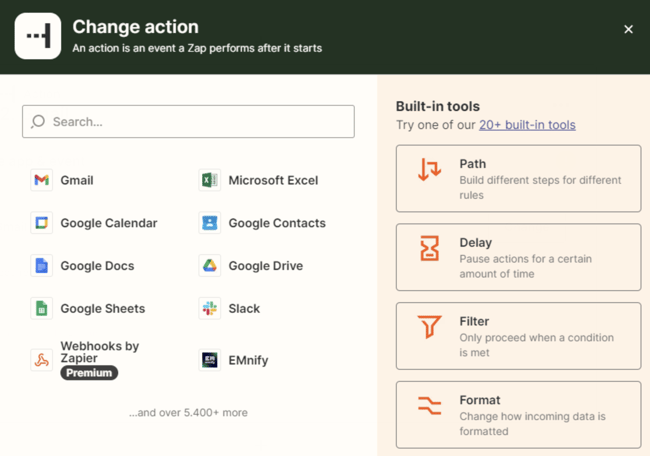
You can then choose the application which will issue the notification following the occurrence of the event. In this article, we will use Gmail, but as you can see, there are hundreds of other options, including Outlook, Slack, Mailchimp, SalesForce, Hubspot, etc.
Once you’ve selected, choose the type of action you want the app to perform. In this example, we want Gmail to send us an email:
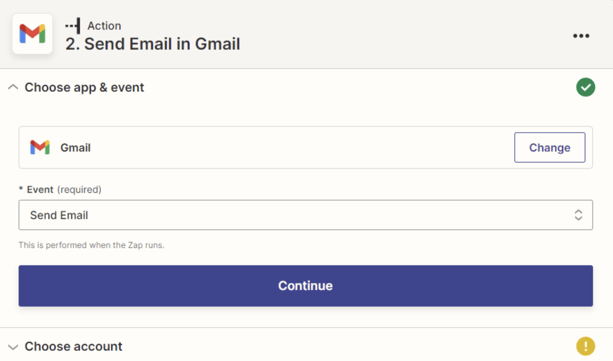
Then choose your account.
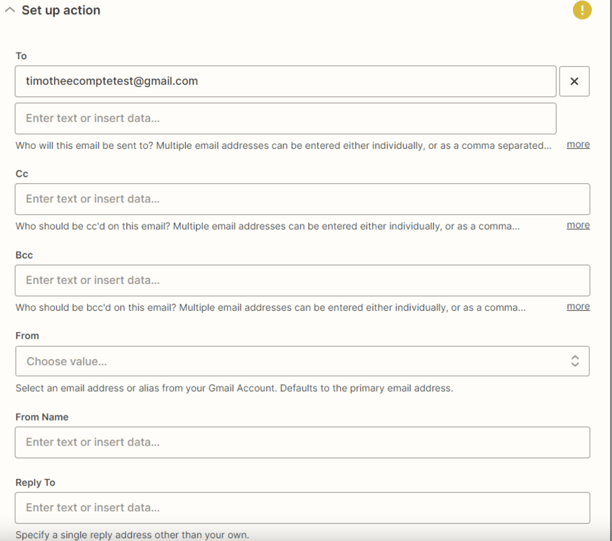
Once the account has been chosen, please select the recipient of the email. You can also add addresses in CC, and BCC as well as the originator of the email and her/his/its name.
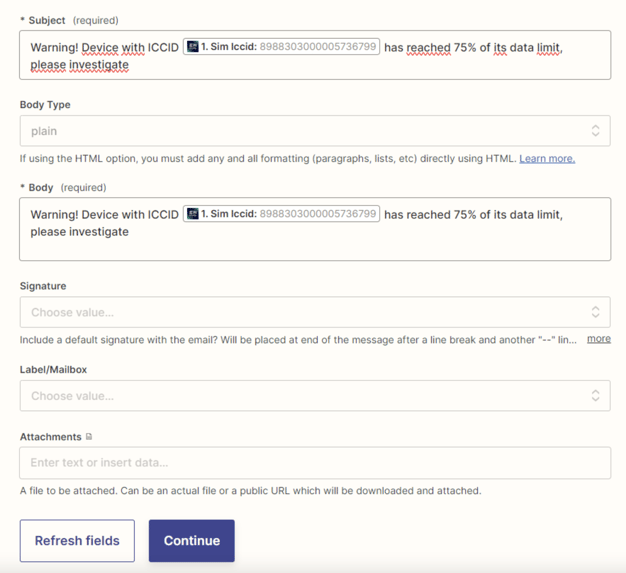
Finally, you can decide what will be the content of the email, especially the title and the body of the email. Zapier conveniently provides you with fillers obtained from the test we performed earlier. Once the Zap has been turned on, future notifications will automatically contain all information regarding to your device name, ICCIDs, tags, etc.
e. Test & Publish your Zap
Zapier will then show you a recap and ask you to confirm. If you are happy with all the email looks like, click Continue. A test will be performed straight after:
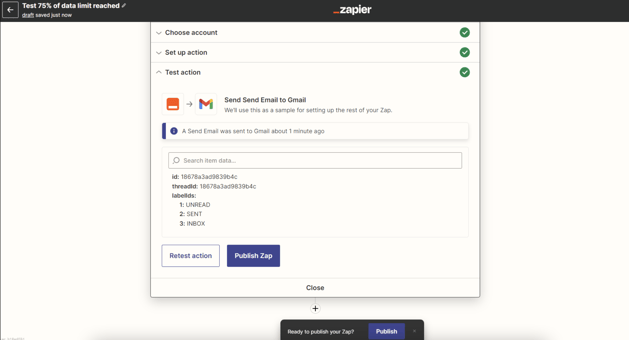
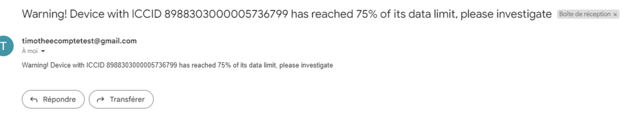
If you are happy with the result, you only have to click on “Publish Zap” and let the combo emnify + zapier monitor your consumptions and do the work for you automatically.
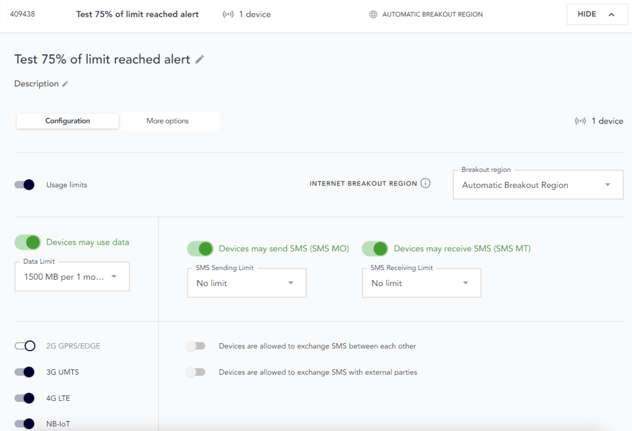
3. Implement on all your devices
After this testing device and testing data limit, you can obviously use this feature on a larger scale, with different devices and different data limits, for instance, 1,500MB:

Timothée Mouchard
Timothée is an experienced Customer Success professional who has been working at emnify since October 2020. He has an extensive knowledge about IoT and cellular connectivity.