Seasonality dictates a wide range of business verticals. And it’s only understandable that companies constantly strive to optimize the operating cycle, so the profit earned during peak seasons is not eaten up by wasted OPEX incurred during off-peak seasons. The same goes for seasonal IoT products.
Take precision farming applications for example. Just as a particular crop only grows during a specific time in the year, the soil sensors will only need to gather data during the growing season. Likewise, if you provide a short-term IoT product, chances are devices might have a pre-defined operational period, for example, six months for every customer.
For these types of cellular IoT devices, you want to deactivate the SIM card when they are no longer in use to avoid wasted connectivity costs. And when it comes to hundreds or thousands of devices, this needs to be done in an automated and streamlined fashion. In this blog post, I will show you an example of how to achieve this in less than ten minutes with EMnify and Zapier.
New to Zapier? Learn what it is and why it is needed in IoT here.
Deactivate SIM cards at pre-defined times and intervals in the future
Use case
If your devices have a fixed operational schedule, let’s say, for half of the year or from March to September every year, you can build two workflows (Zaps) using EMnify and Google Calendar to deactivate the SIM cards automatically.
Recipe
Zap A: For the first workflow, you want to schedule a SIM deactivation event in Google Calendar whenever the device is enabled on the EMnify platform.
- Trigger: Device Enabled in EMnify
- Action: Create a Detailed Event in Google Calendar
Zap B: With the second workflow, you can then automatically deactivate the SIM on the scheduled date.
- Trigger: Event Start in Google Calendar
- Action: Disable a Device in EMnify
How to set it up
ZAP A:
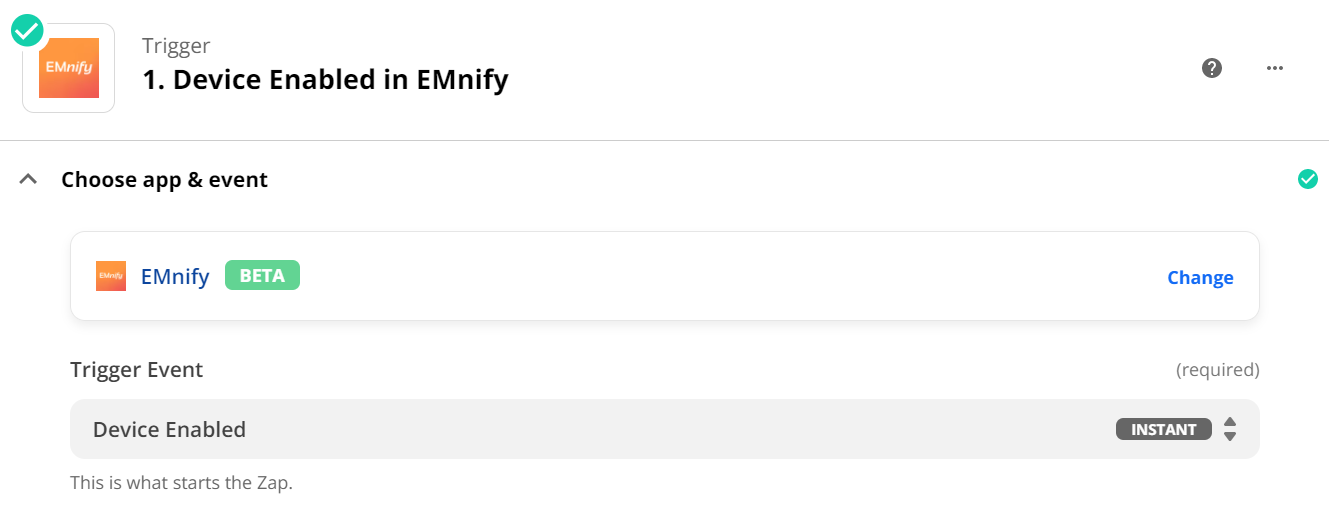
Step 1: Create an EMnify Device Enabled trigger
- Create a new Zap in Zapier.
- Choose EMnify in the App Event Search bar and select the Device Enable trigger.
- Choose your EMnify account.
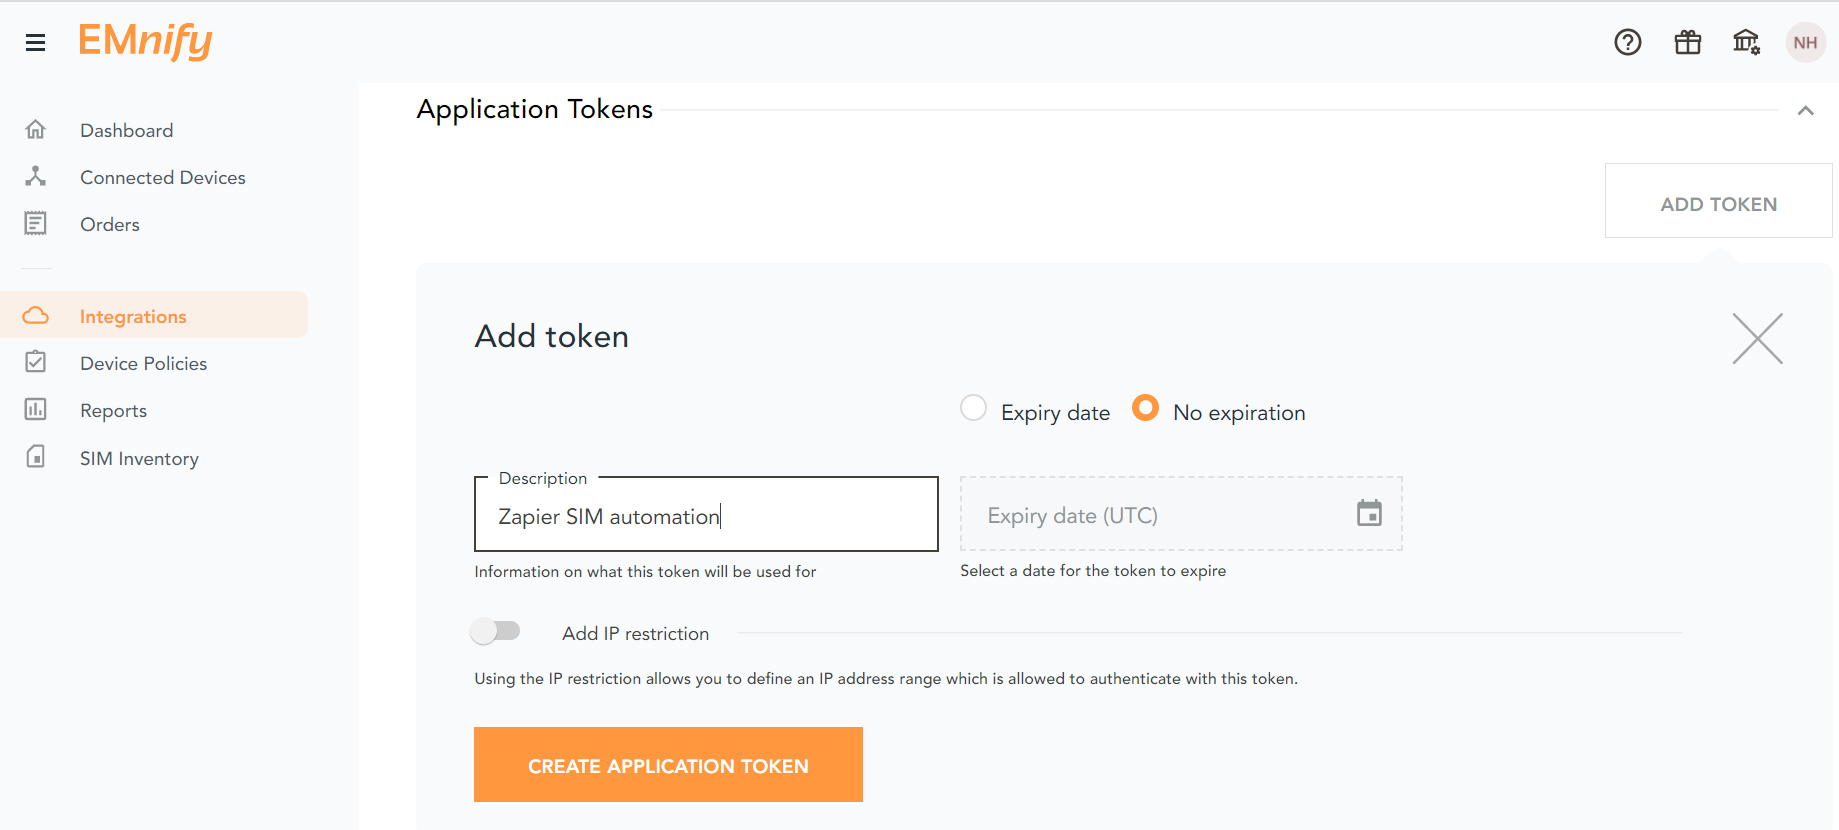
- If you haven’t connected your EMnify account before, you can easily do so using an application token. Head to the EMnify Portal, go to the Integrations section and scroll down to Application Tokens. Then add a new token and copy it into the Zapier authentication window.
- Test the trigger and click Continue.
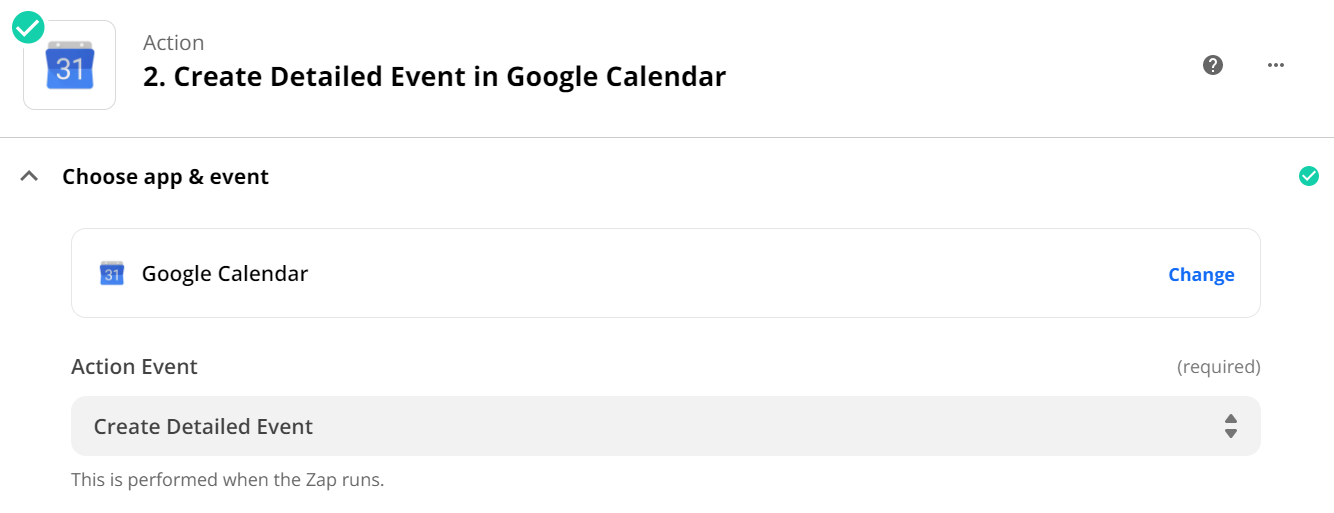
Step 2: Create a Detailed Event in Google Calendar
- Choose Google Calendar for the Action app and select Create Detailed Event action.
- Connect with your Google Calendar account
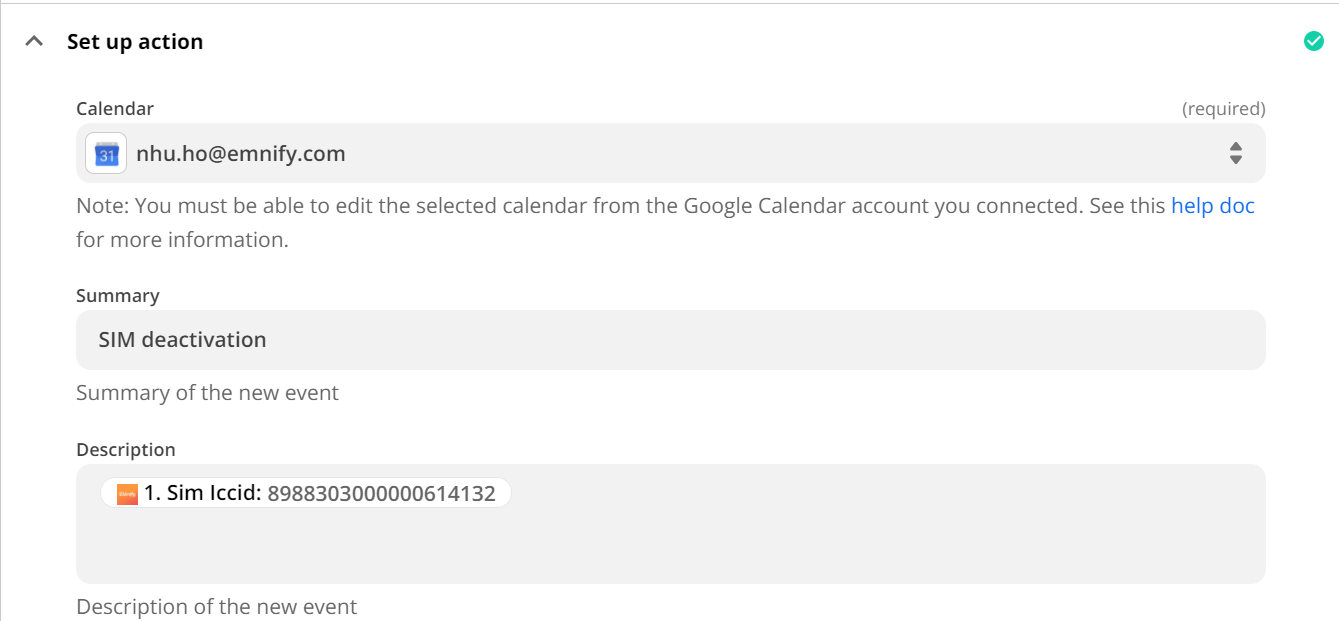
- To set up the action, select a calendar. Ideally, you want to create a dedicated calendar for your SIM management events to separate it from other event types in your Google Calendar.
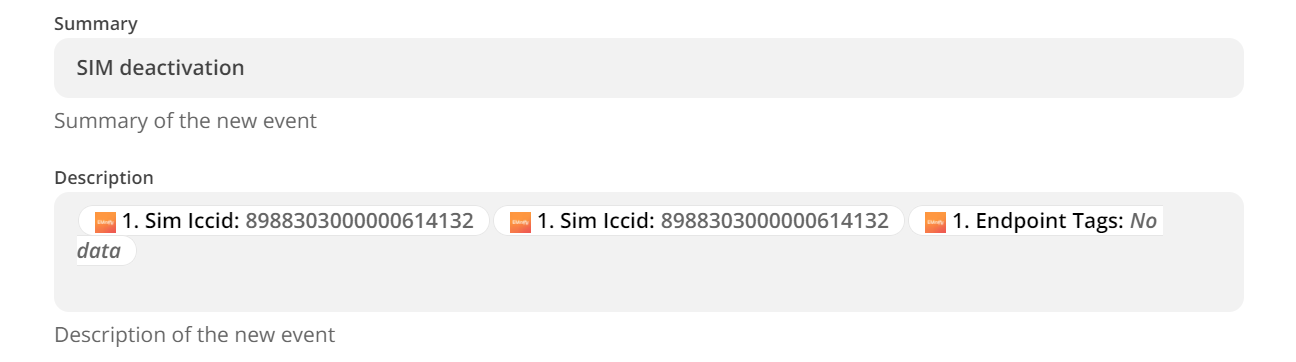
- You also want to ensure that the ICCID of the activated SIM is added to the Google Calendar event so it can be used later as the input to deactivate the respective SIM. In this example, we name the event Summary “SIM deactivation” and insert the SIM ICCID in the Description.
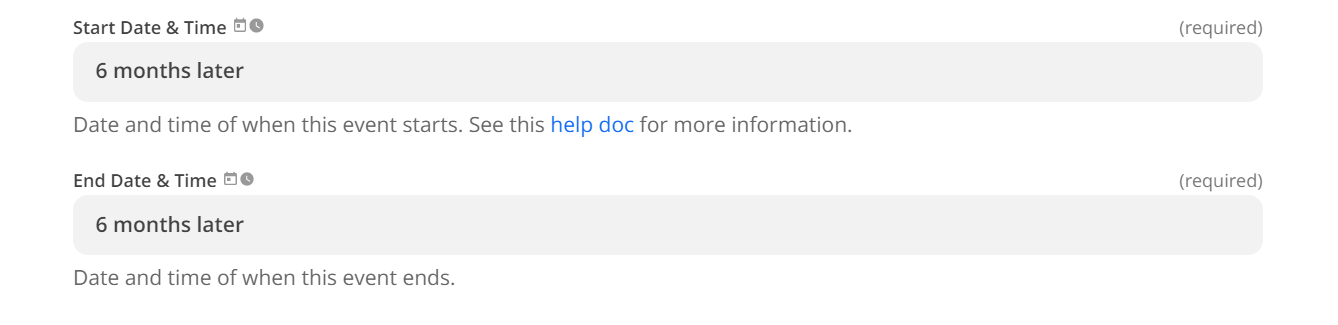
- The Start Date & Time would then be the SIM deactivation date. You can enter a fixed date if it is known or input a defined interval such as “six months later”. Zapier can interpret multiple date and time formats (find more examples here). Then enter End Date & Time. Ideally, you want to enter the same day as the Start Date.
- As the rest of the fields are not needed, you can scroll down to click Continue and test the action.
- Once the Test Action is successful, you can now turn on your Zap.
ZAP B:
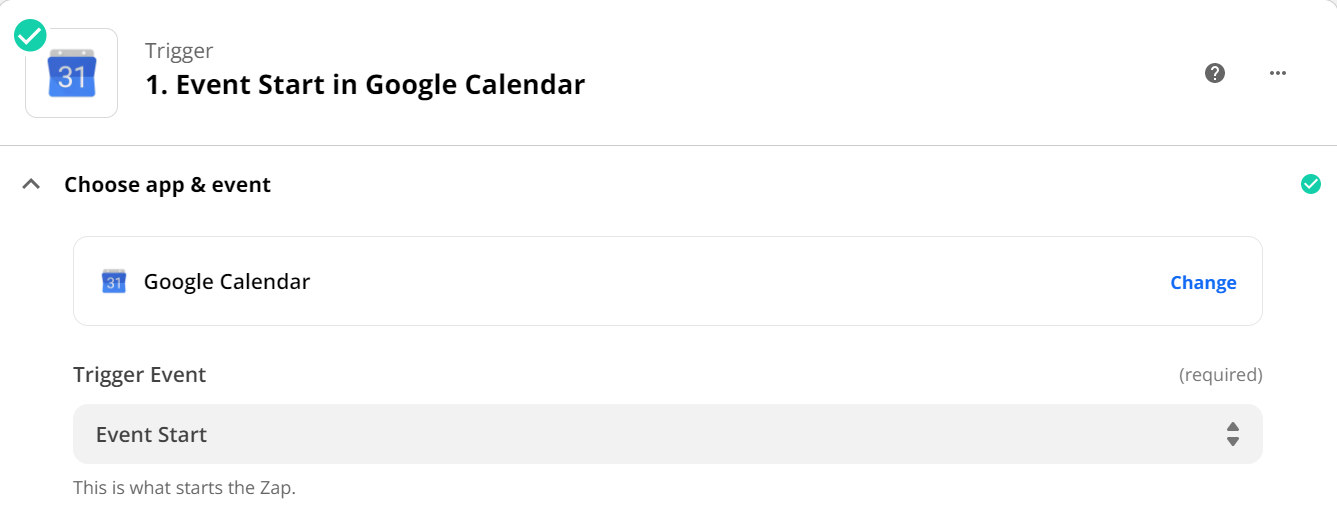
Step 1: Create an Event Start trigger in Google Calendar
- Choose Google Calendar for the Trigger App and select Event Start as the trigger event
- Select your Google Calendar account
- To set up the trigger, select your Calendar and enter a Time Before the event value to set off the trigger. In this example, we take the default 15 minutes.
- In the Search Term, enter “SIM deactivation”. This ensures that the action is correctly executed with the Google Calendar events created in your previous Zap.
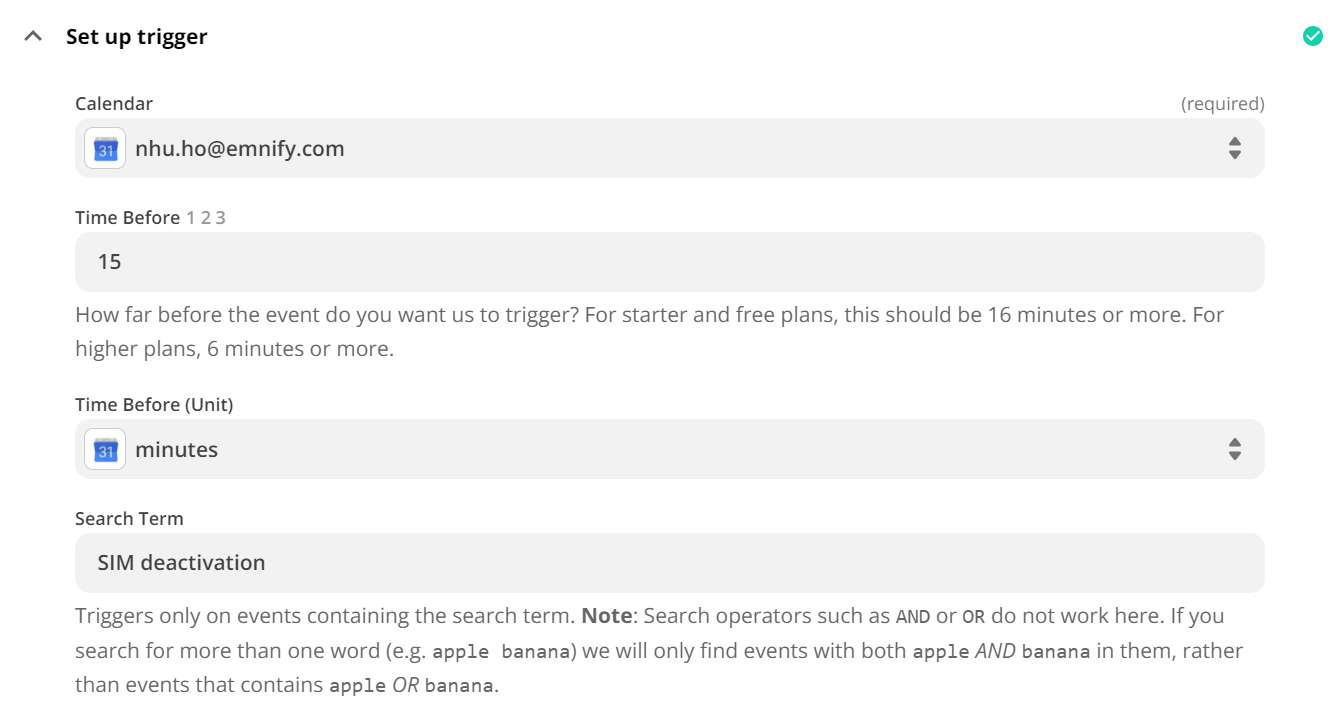
- Test the trigger and click Continue
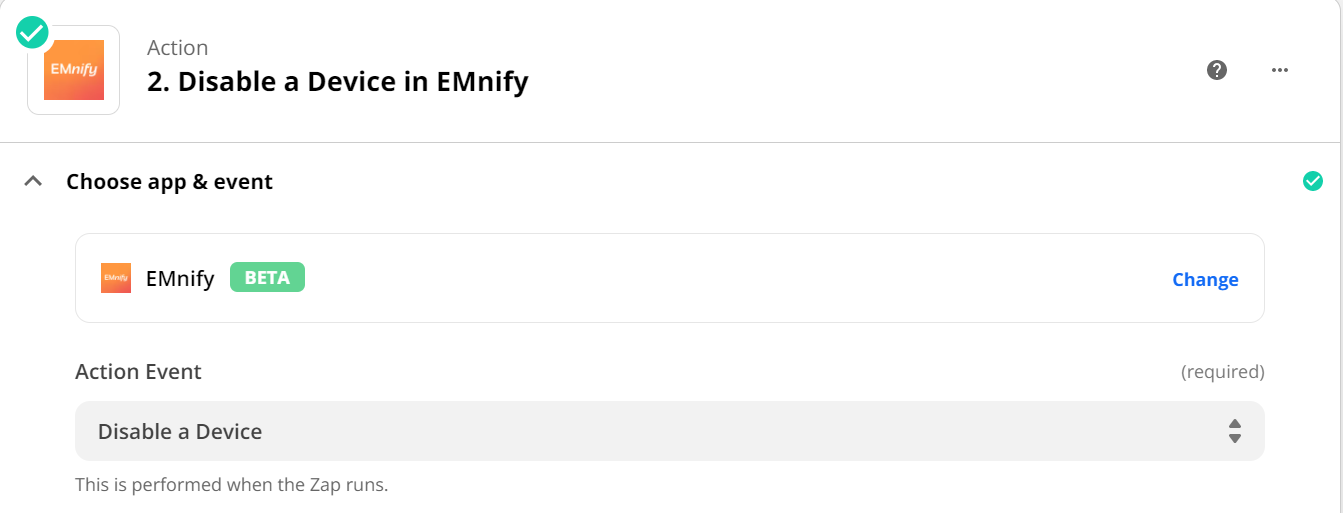
Step 2: Create Disable a Device action on EMnify
- Choose EMnify for the Action app and select Disable a Device action
- Select your EMnify account
- To set up the action, insert the Description of the Google Calendar event in the Device’s ICCID field (Recall that in Zap A we input the SIM ICCID in the Event Description).
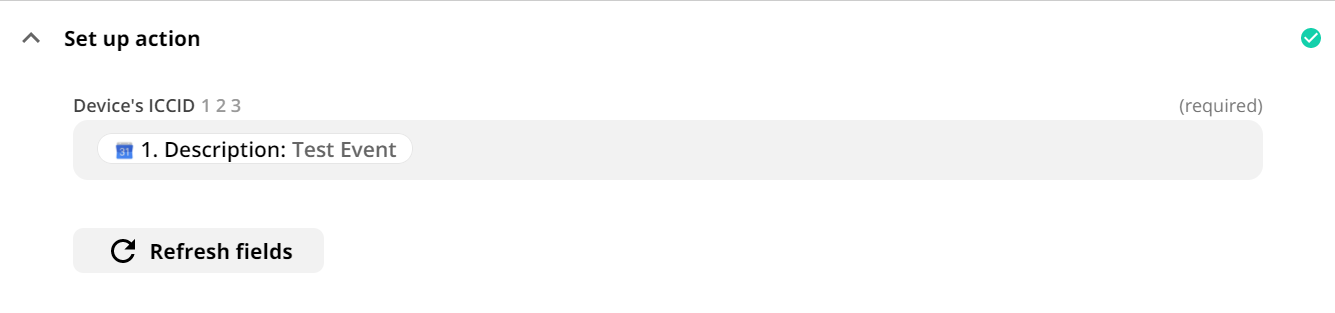
- For this action, you can skip the Zapier test. This is because the default Description / Device’s ICCID for the test is “Test Event”, which will render an invalid ICCID in the EMnify Portal.
- Turn on the Zap, and you are ready to go!
Tips and tricks
1. Test your Zaps
Beyond the default tests during setup, you want to test your Zaps once they have been switched on. Activate the device on the EMnify Portal and check if a corresponding SIM deactivation event is created on the Google Calendar at the scheduled date. Likewise, create a test event in Google Calendar with the same naming convention and check if the SIM is deactivated on the EMnify Portal as the event time approaches.
Note: The SIM deactivation event is not performed in real-time. When we set 15 minutes in the Time Before settings of the Google Calendar Event Start, SIM deactivation will be executed any time up to 15 minutes before the event time.
2. Execute automation on a specific device group
It could be that among all your devices, only a certain group is seasonal or short-term. In this case, you can ensure that the automated SIM deactivation will only apply to this group by adding the below steps:
- Create a device category (e.g., seasonal) using tagging in the EMnify Portal
- In Step 2 of Zap A, name the Google Calendar event Summary “SIM deactivation, SIM ICCID, Endpoint Tags”
- In Step 1 of Zap B, add the specific tag (e.g., seasonal) to the Search Term of your Event Start trigger.

3. Set up different deactivation timelines
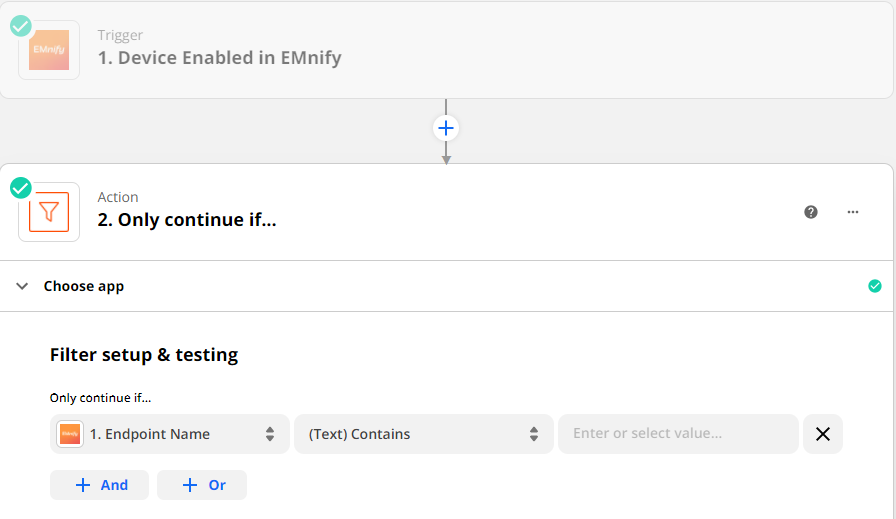
If different devices have different lifecycle and SIM deactivation schedules (e.g., six months, nine months and one year), you can create multiple versions of Zap A accordingly. Leveraging Zapier’s Filter function, you can ensure the deactivation event is created on the desired timeline for that specific device group.
Reactivate SIM cards at pre-defined times and intervals in the future
If your devices have a defined seasonal operations loop, the same logic can also be applied to reactivate the SIM when the operational season starts again. You can complement the workflows above with another set of two Zaps for SIM reactivation.
Zap A:
- Trigger: Device Disabled in EMnify
- Action: Create a Detailed Event in Google Calendar
Zap B:
- Trigger: Event Start in Google Calendar
- Action: Enable a Device in EMnify.
Important: Make sure you enter “SIM deactivation” in the Search Term of the Google Calendar Event Start trigger for the SIM Deactivation Zap, as well as “SIM activation” for the SIM Activation Zap.
Final thoughts
Building Zaps with Google Calendar is just one way to automate the SIM lifecycle of your IoT products. Another approach is to leverage a QR code, so the technician or end-user can provision and decommission both the device and SIM card at the push of a button. As a no-code alternative to API, Zapier allows you to do such automation in minutes without consuming development resources.
Have a question or curious about how you can benefit from connectivity automation with Zapier? Contact us today.

Nhu Ho
Nhu has over six years of experience working with networking technologies and IoT connectivity solutions. She’s an avid tech learner with a customer-focused mindset.