Utilize AWS IoT Core to securely process device data at scale
IoT Core is a set of services provided by AWS that allow scalable management of IoT devices and data. This guide will focus on the connectivity and data services. After using this guide, you can make use of the analytics and control services to extract insights from IoT data and also trigger jobs or request a device state from the AWS service itself.
Prerequisites
This guide will cover the initial setup for AWS IoT. The prerequisites for receiving device data in AWS IoT Core are:
- A device with a cellular modem (in this example we use a Rasberry PI)
- The device needs to support to send data via HTTP, Websockets or MQTT
- Access to the file system or firmware of the device
- An AWS Account
Benefits
- Securely authenticated and encrypted communication between device and cloud
- Fine granular permissions on the data that can be read and published by a device
- Scalable event-processing, filtering, transformation and alerting
- Use device shadow to read and set device data at any time - even when the device is offline
- Store device data in S3, Kinesis, or DynamoDB
- Easily build dashboards with Quicksight
- Automate tasks run on devices using a shadow state
Note: Customers not using AWS IoT Core should look into securing device data using EMnify Cloud Connect.
Configuration Steps
In your AWS console account, navigate to the IoT Core service, select Onboard and click Get Started.
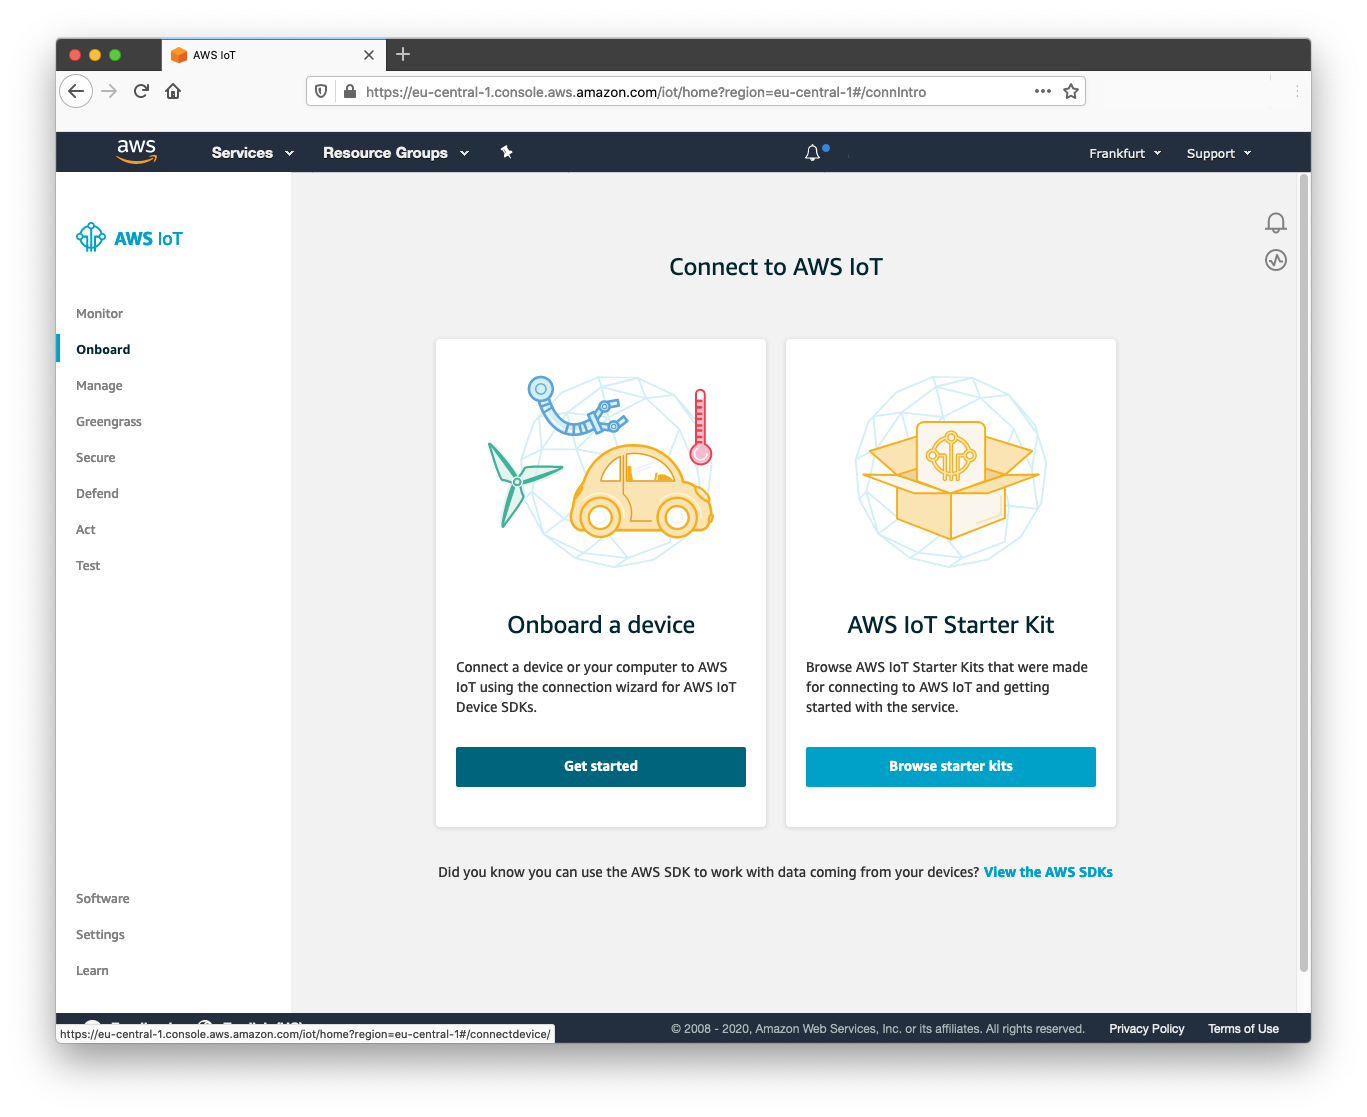
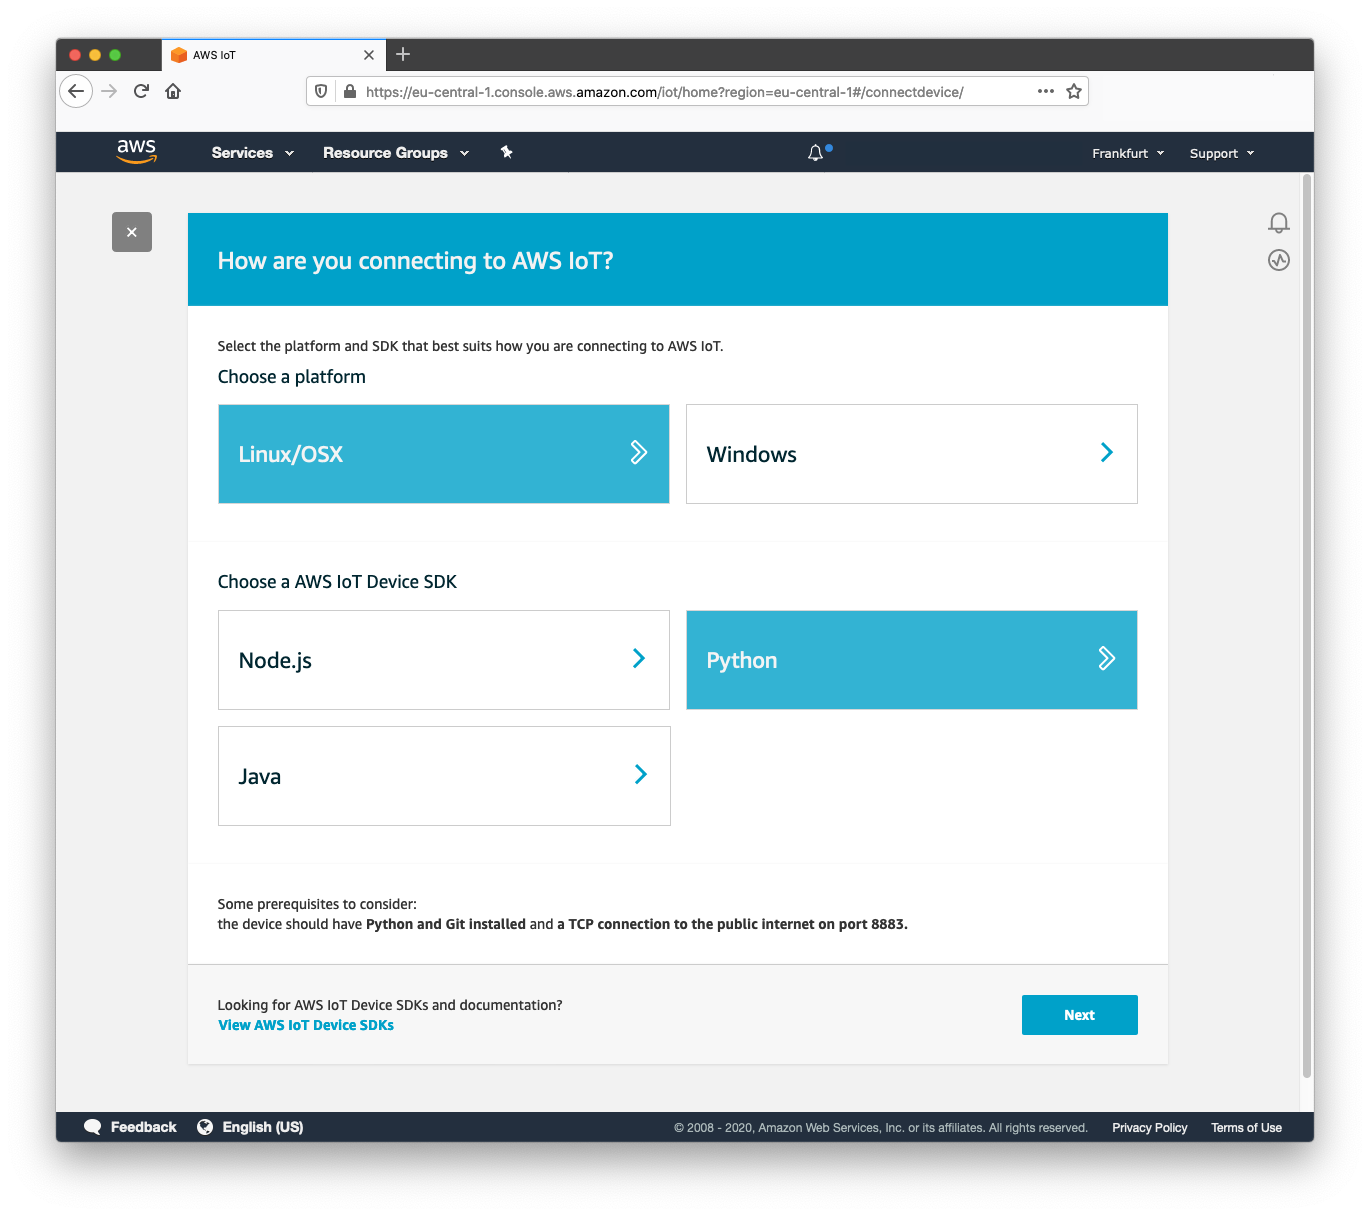
Click 'Get Started' on the next screen and a wizard will prompt "How are you connecting to AWS IoT?".
For the Raspberry Pi, select 'Linux' as the operating system and 'Python' as the language for the IoT SDK.
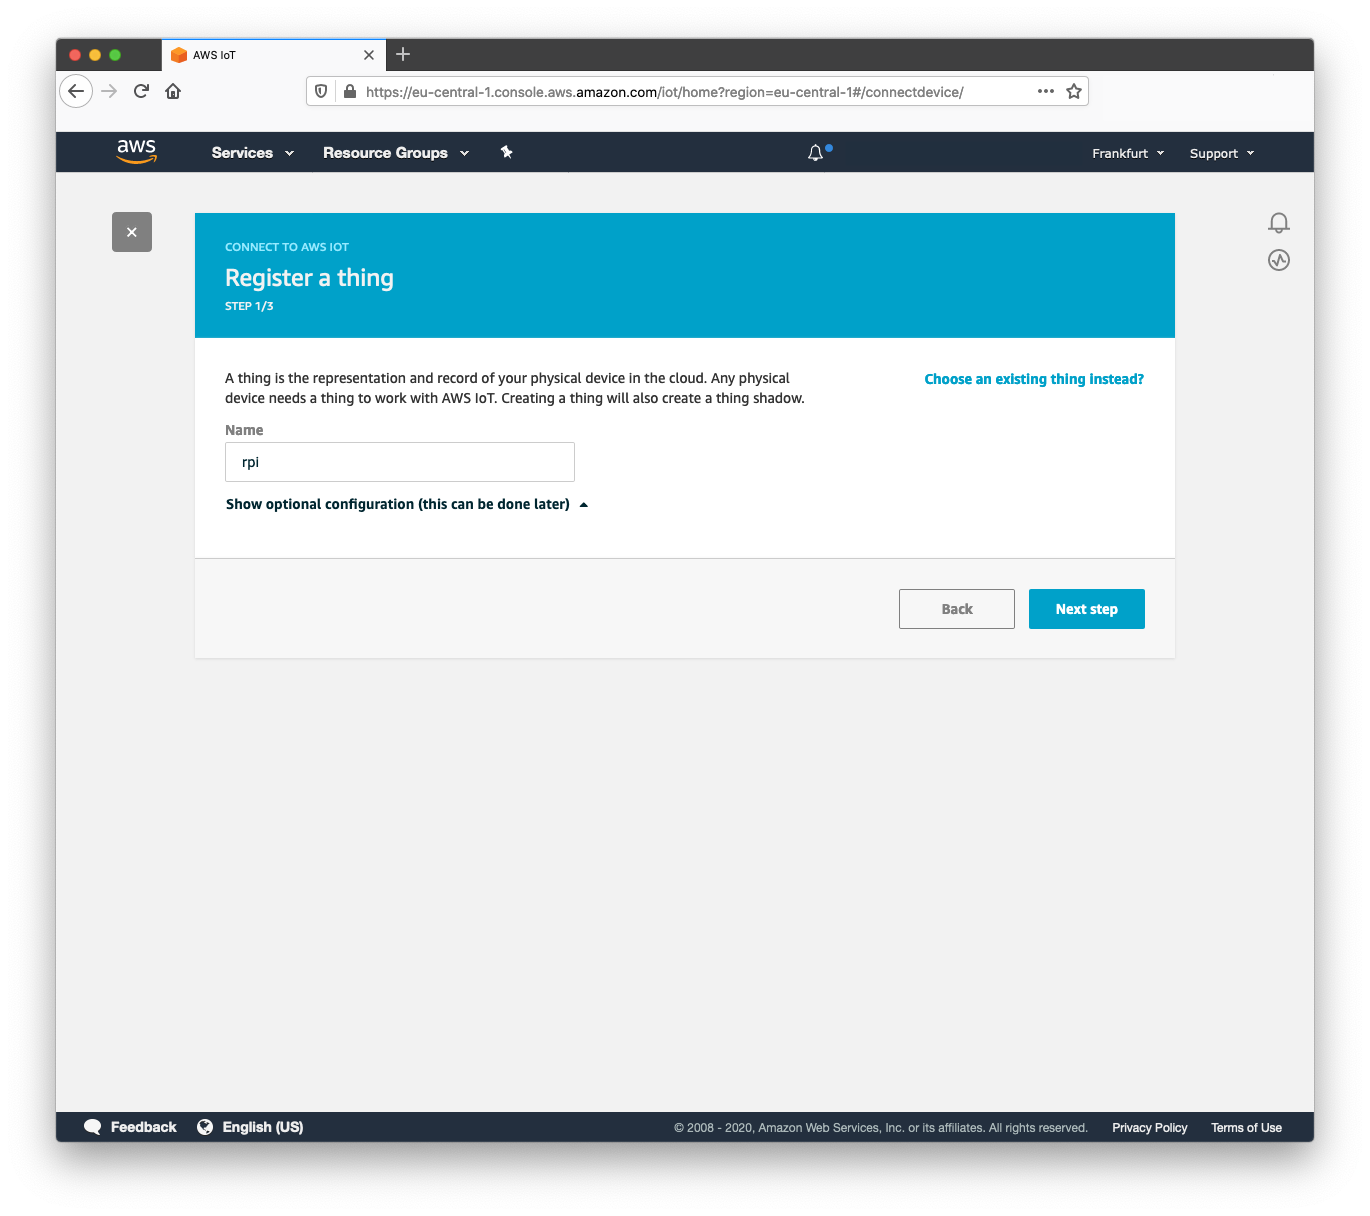
Give the device a name and click next:
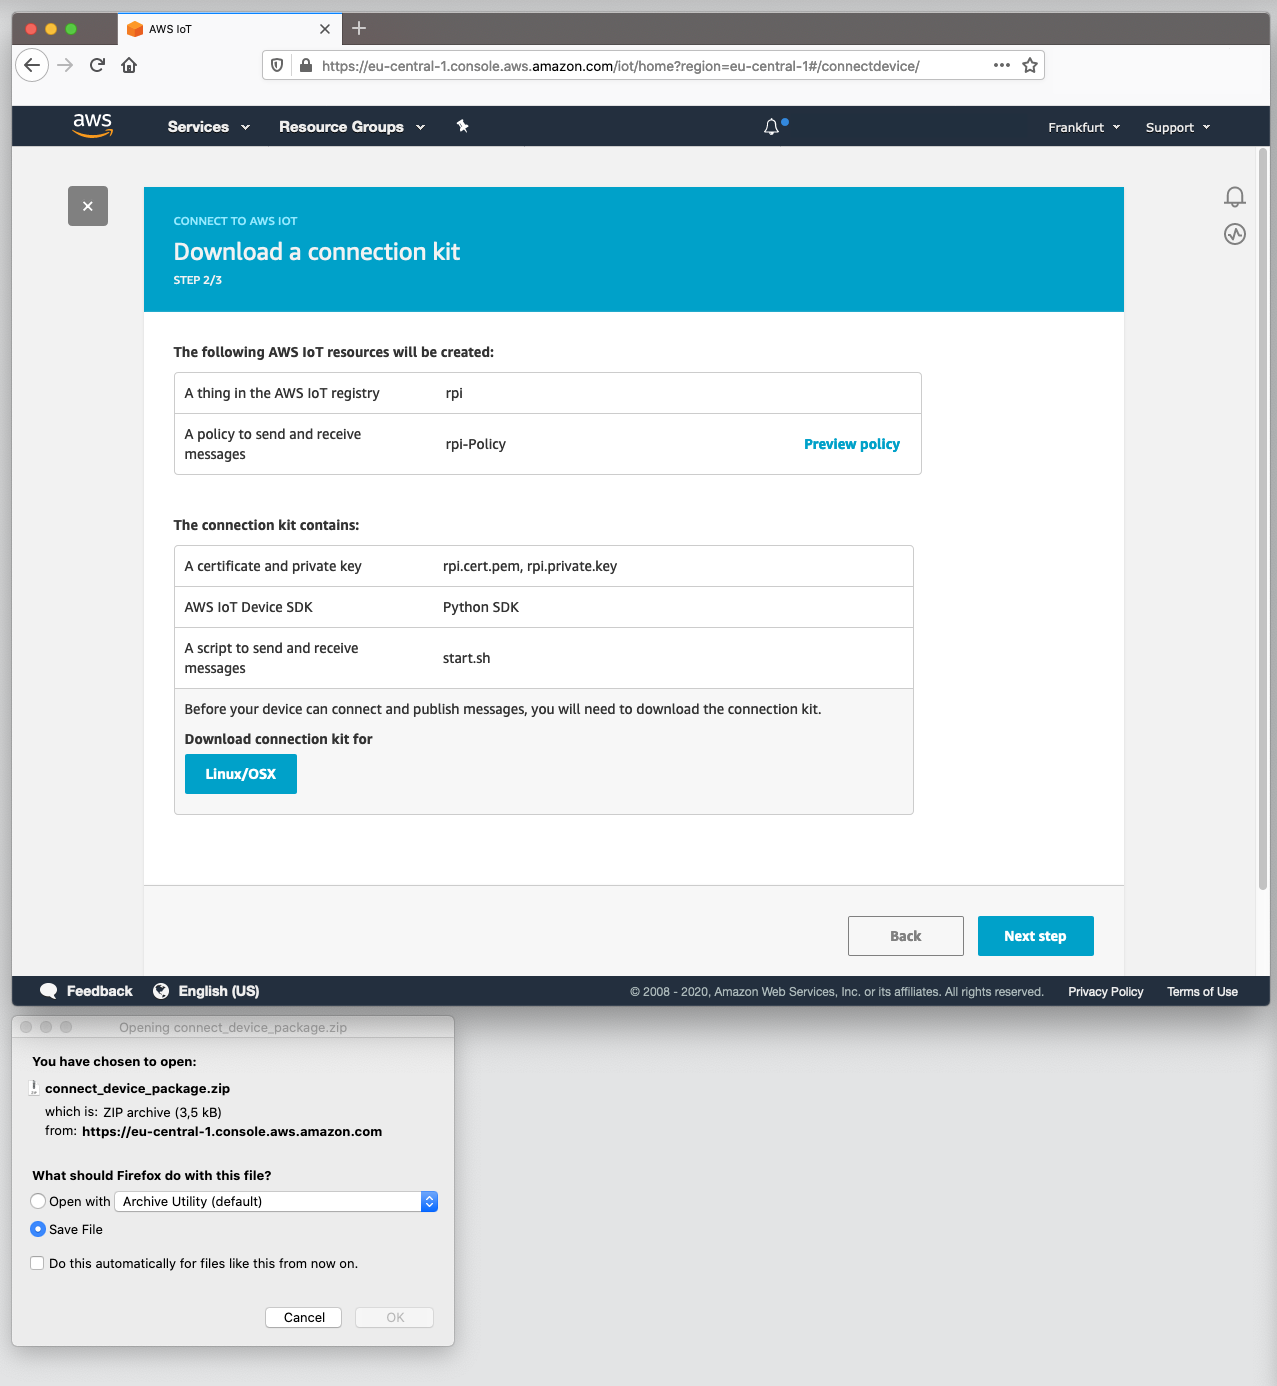
Click Linux, OSX to download the connection package and then select Next Step:
TIP: If you are working from a different machine and you need to copy the files to your Raspberry Pi from another desktop, you can use the scp command to copy the connection pack across:
scp ~/Downloads/connect_device_package.zip pi@<ip or hostname>:~/Downloads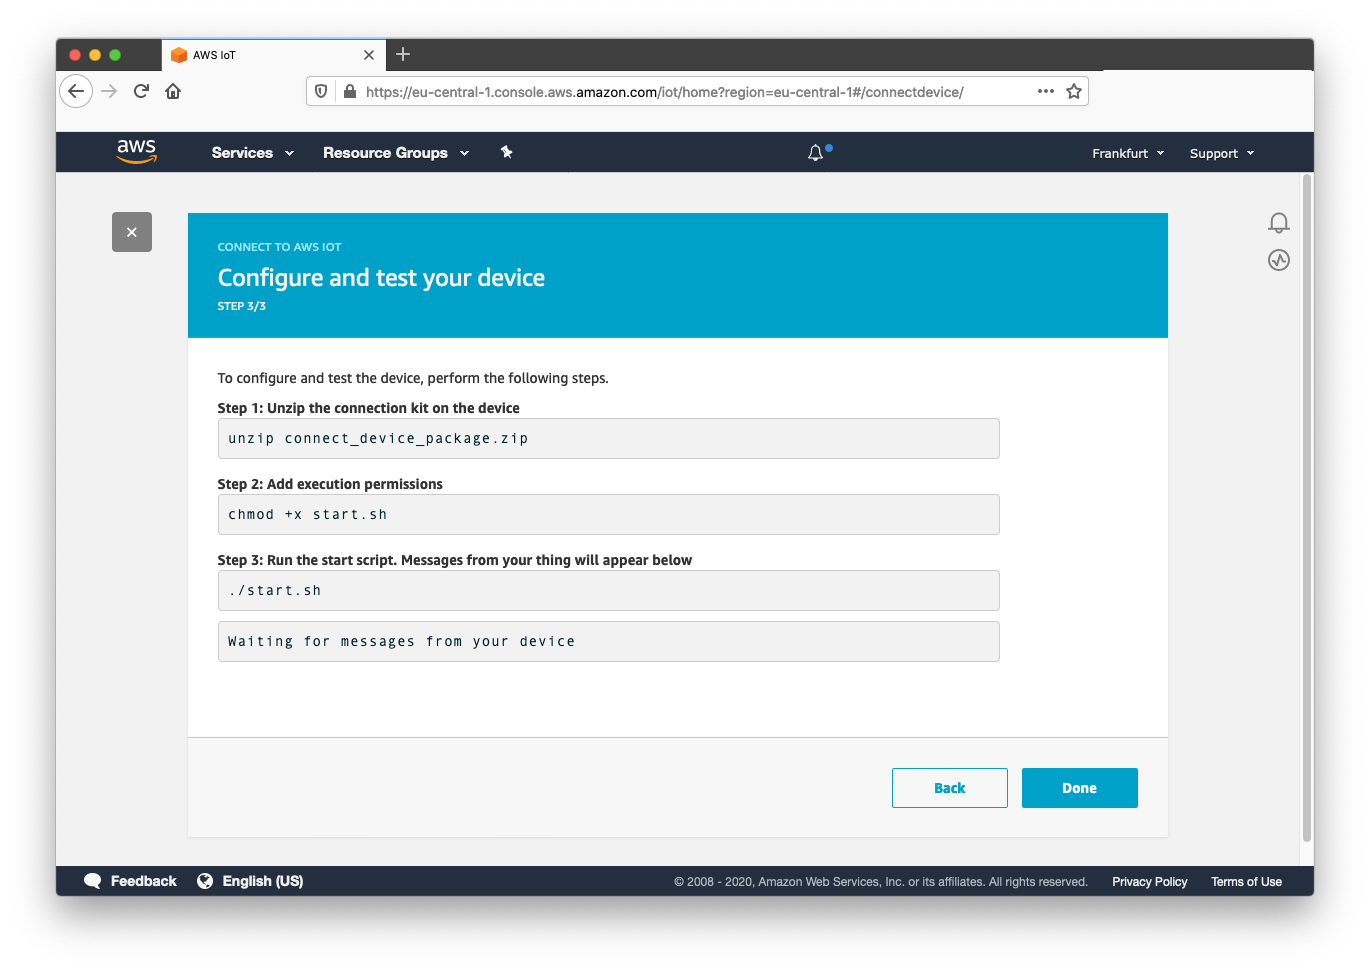
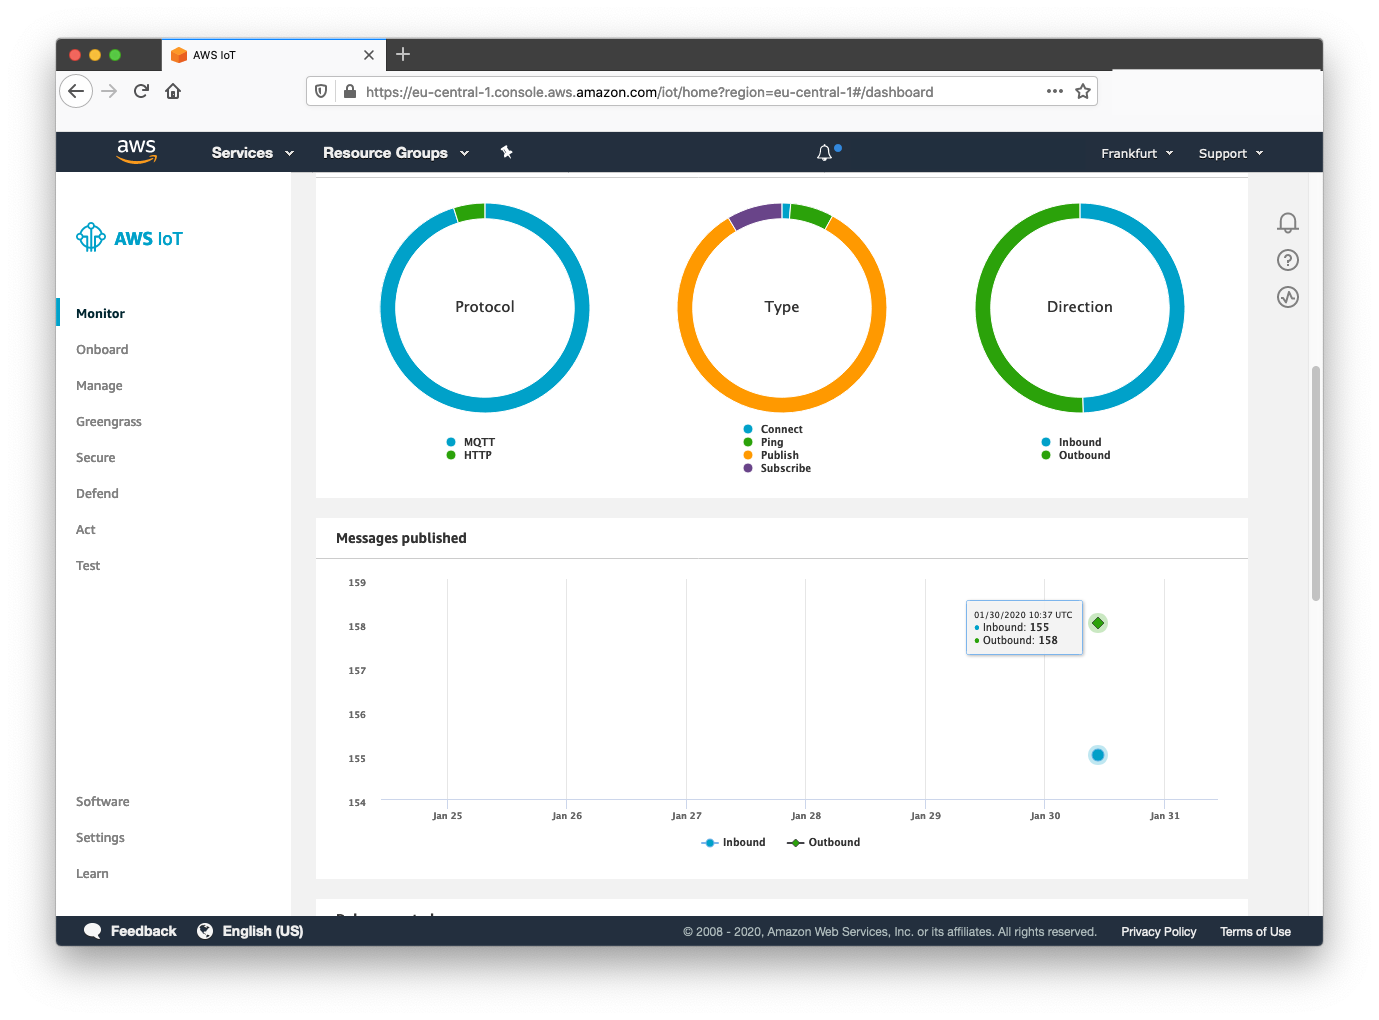
Incoming messages should now be displayed on the monitor tab in AWS IoT Core:
Scaling up
In this guide, we make use of the wizard in the IoT Core console which includes the AWS SDK connection script and X.509 certificates used for encrypting communication between the device and AWS. When testing with one device, this onboarding can be easily done by downloading a connection pack.
A robust and recommended approach for onboarding in bulk is to use a Certificate Vending Machine (CVM) model. The CVM is for customers that do not have certificates pre-installed on the devices and are unable to obtain CA certificates to pre-create device certificates during their manufacturing process.
This model requires that you know a unique identifier (a serial number or token only known to the manufacturer - better yet, both a token and serial number) and that these identifiers are on the device before they are deployed. When the IoT device has an initial active internet connection, an onboarding process is triggered where the device contacts a certificate manager server (the CVM). This server checks the validity of the incoming token and serial and generates TLS certificates, a security policy, and an entity in IoT Core representing the device, all on-demand.
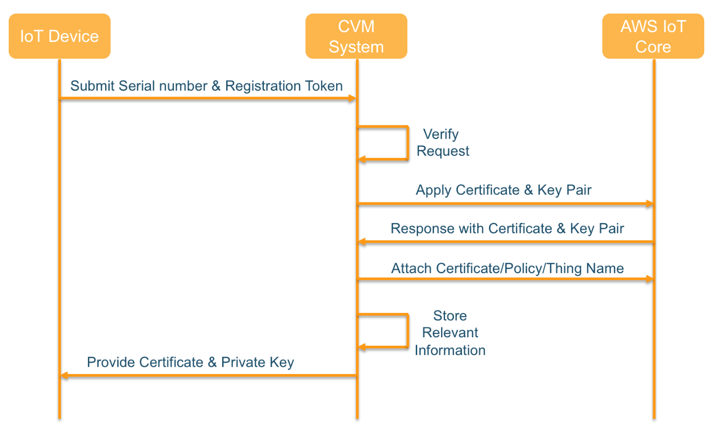
AWS provide a guide for building this system on Amazon's development blog and include code examples for their Certificate Vending Machine in a GitHub repository.
Next Steps
With the working Raspberry Pi example, next steps are to send other device data such as sensor or network information. A good starting point is to update a device shadow using the examples provided by AWS on GitHub.

emnify
The content team of emnify is specialized in all things IoT. Feel free to reach out to us if you have any question.